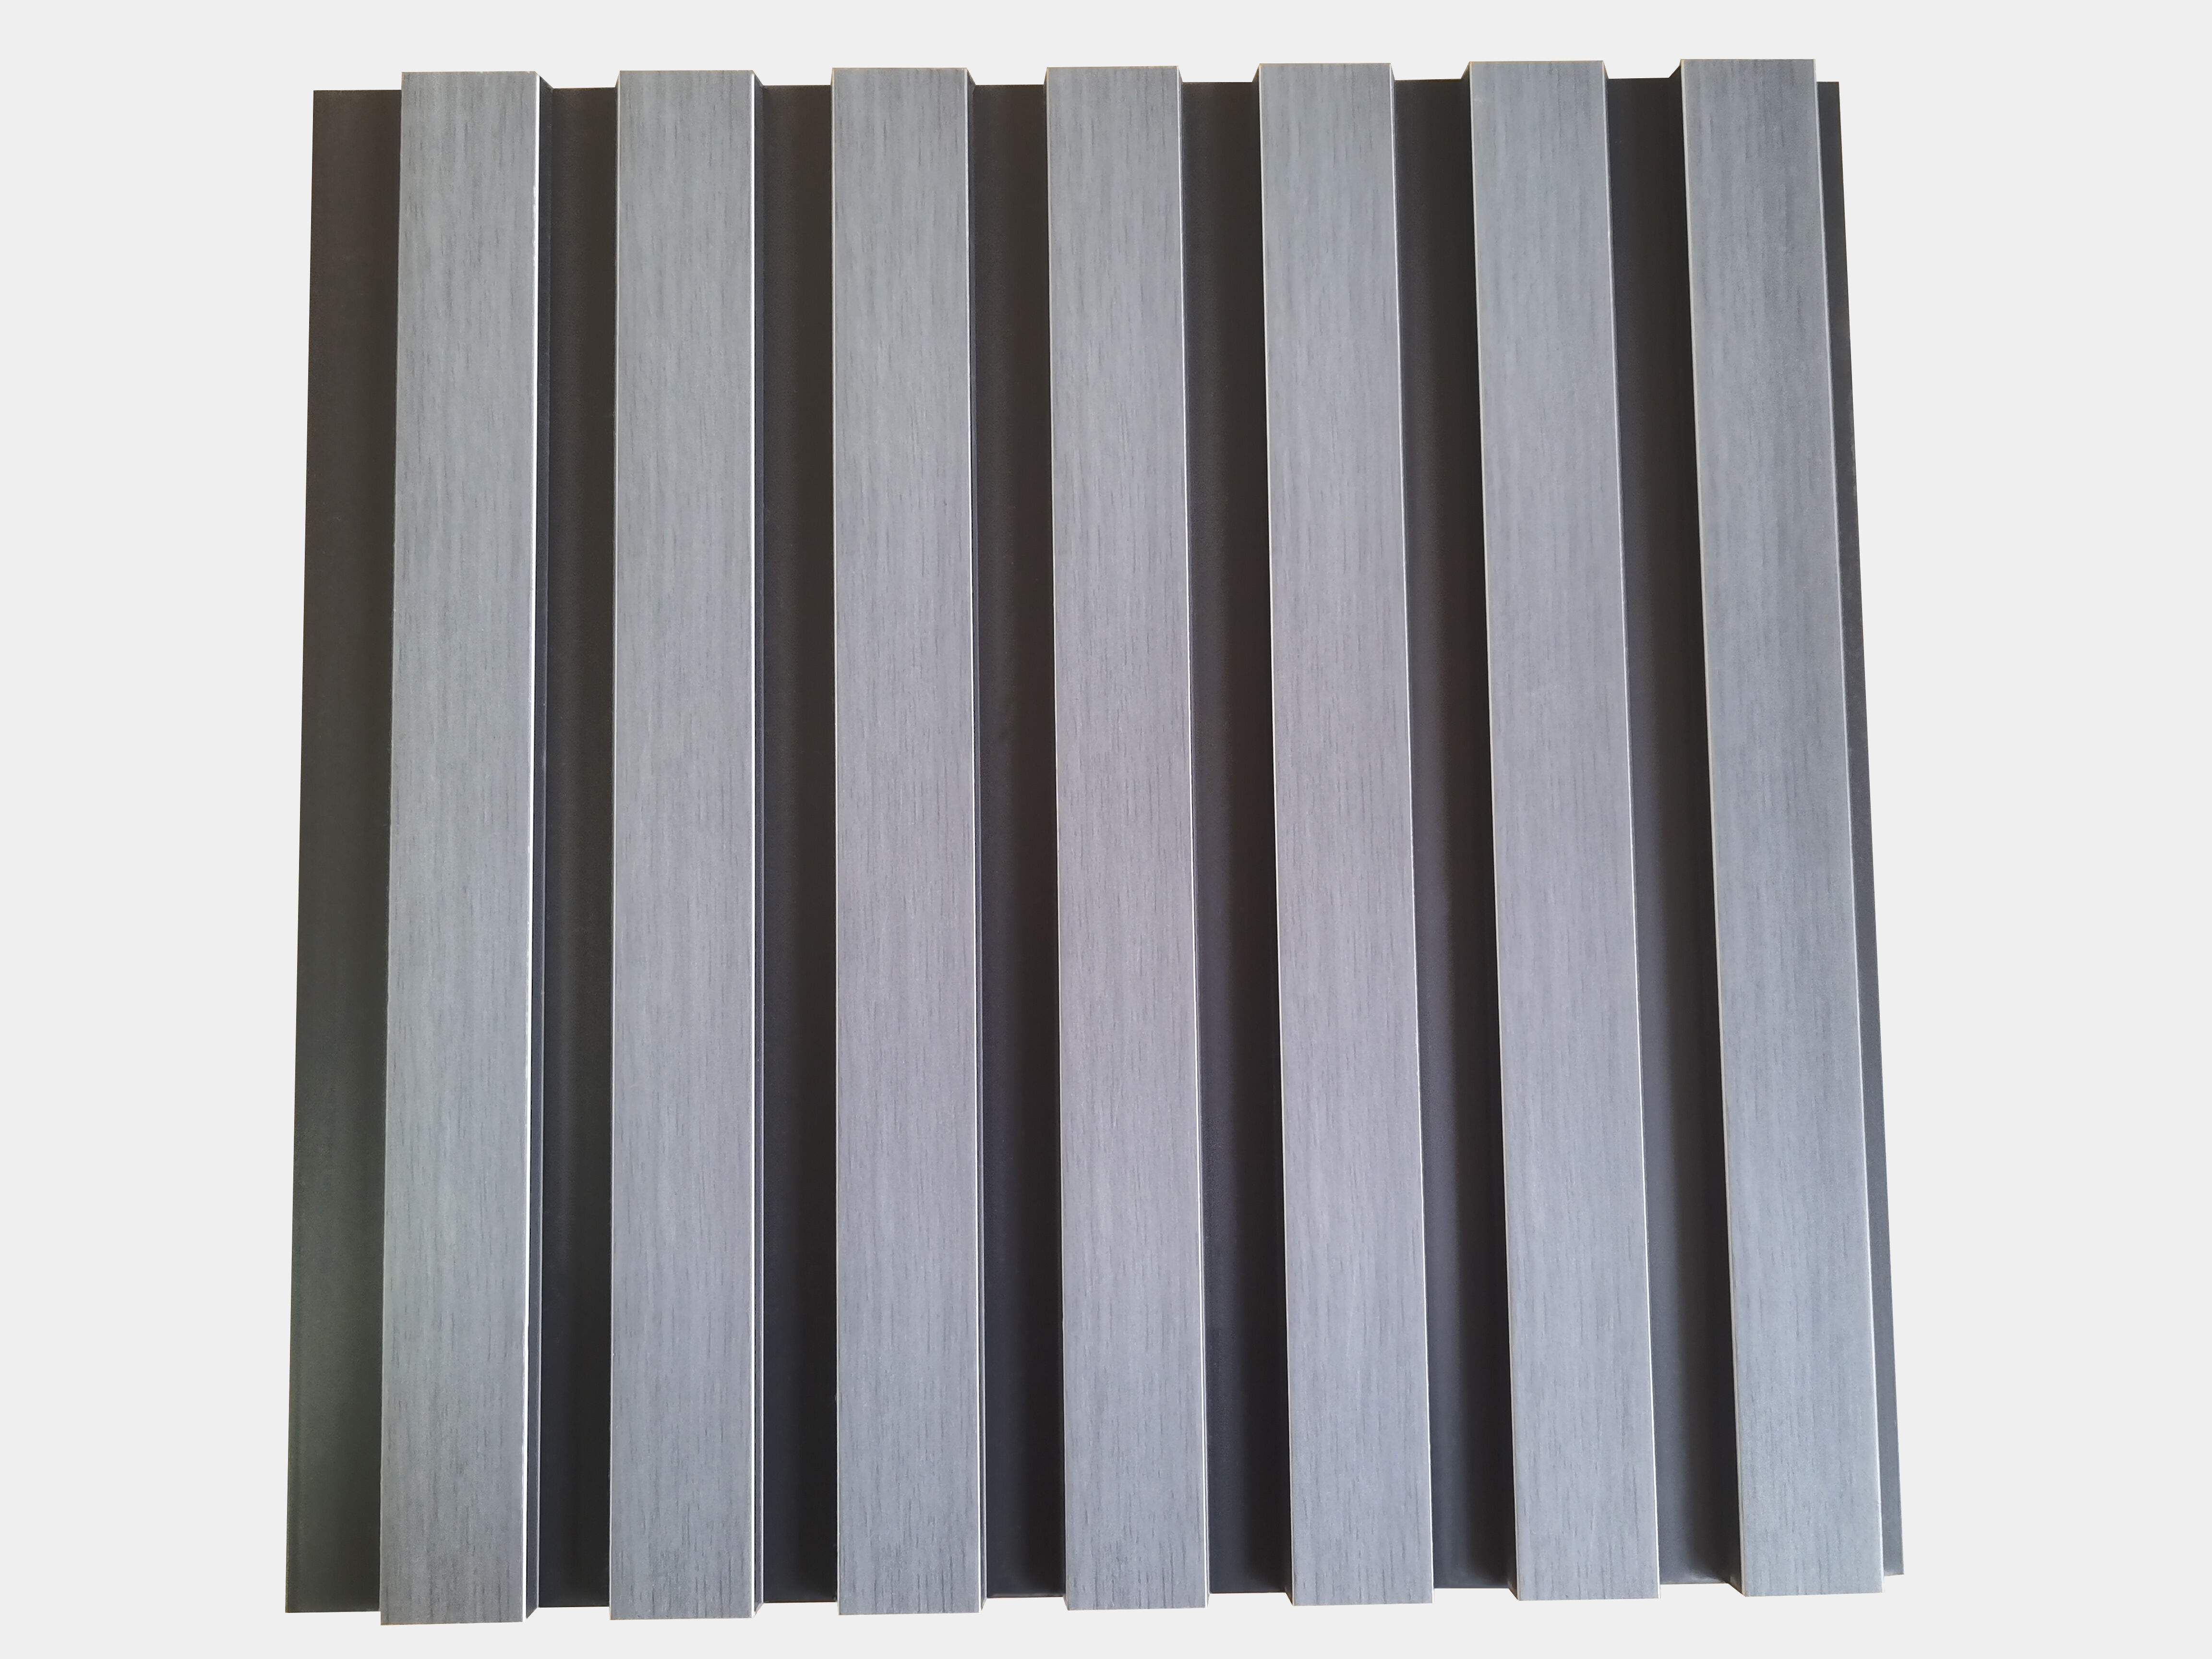
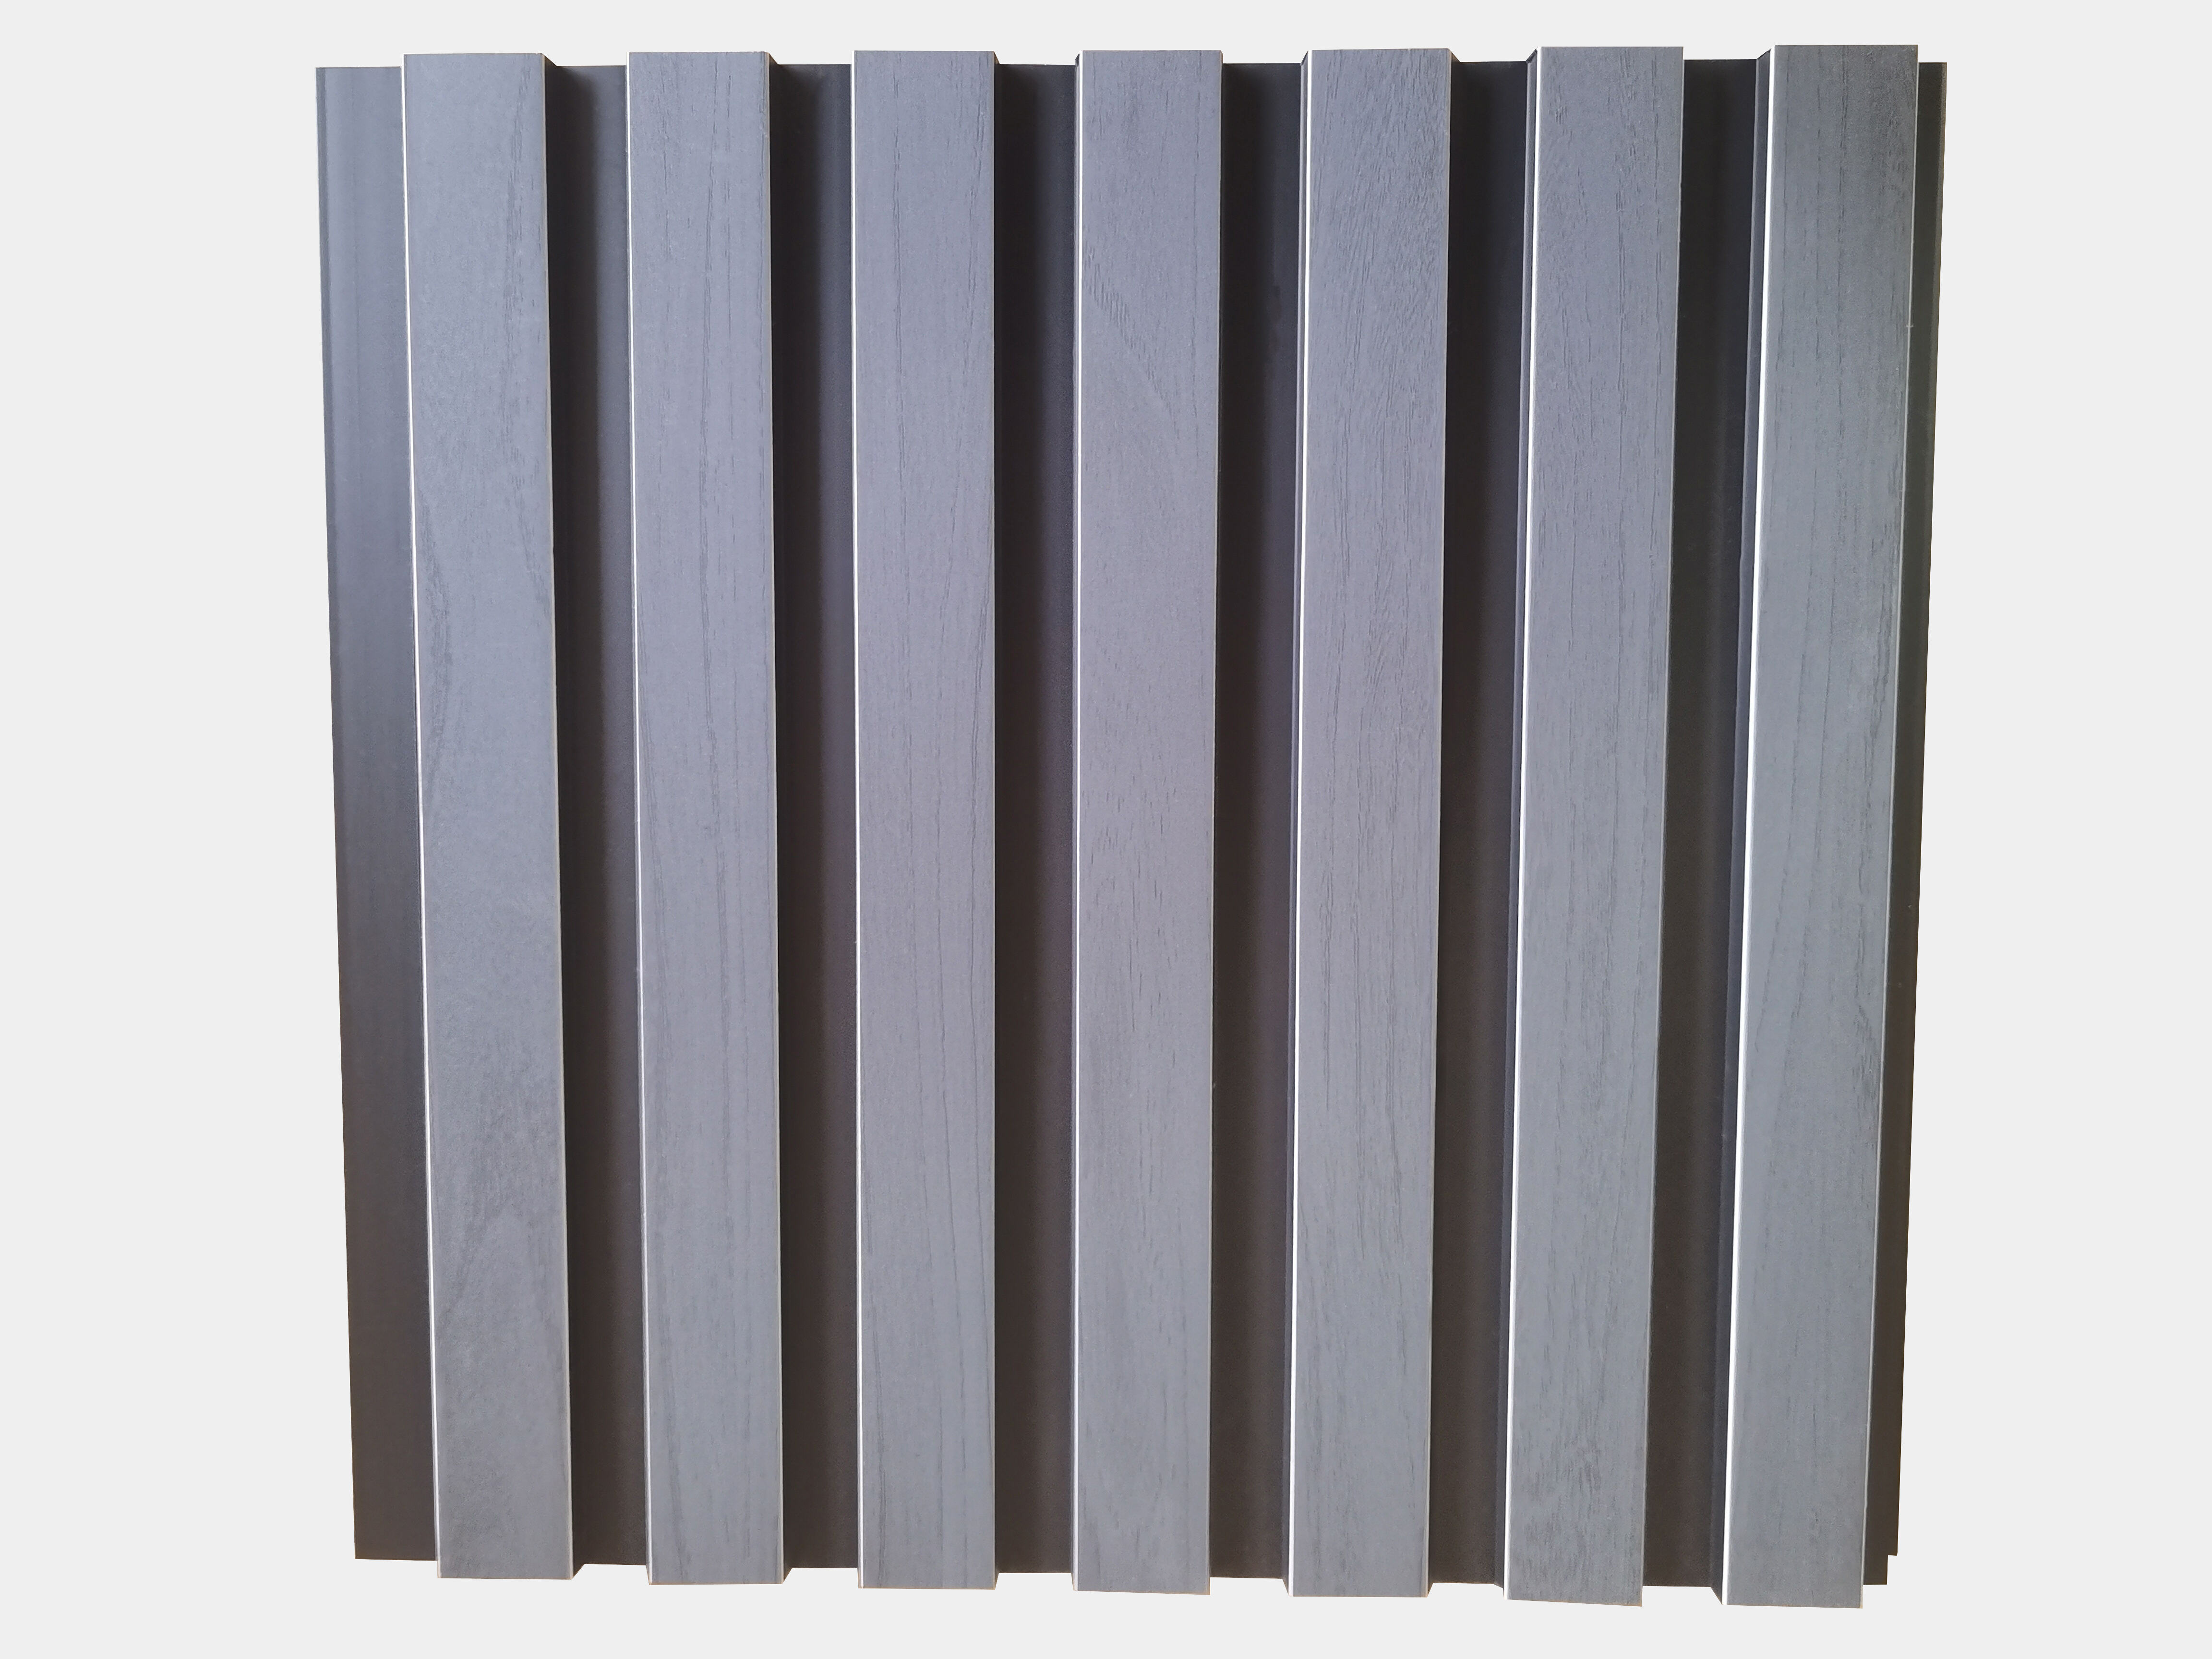
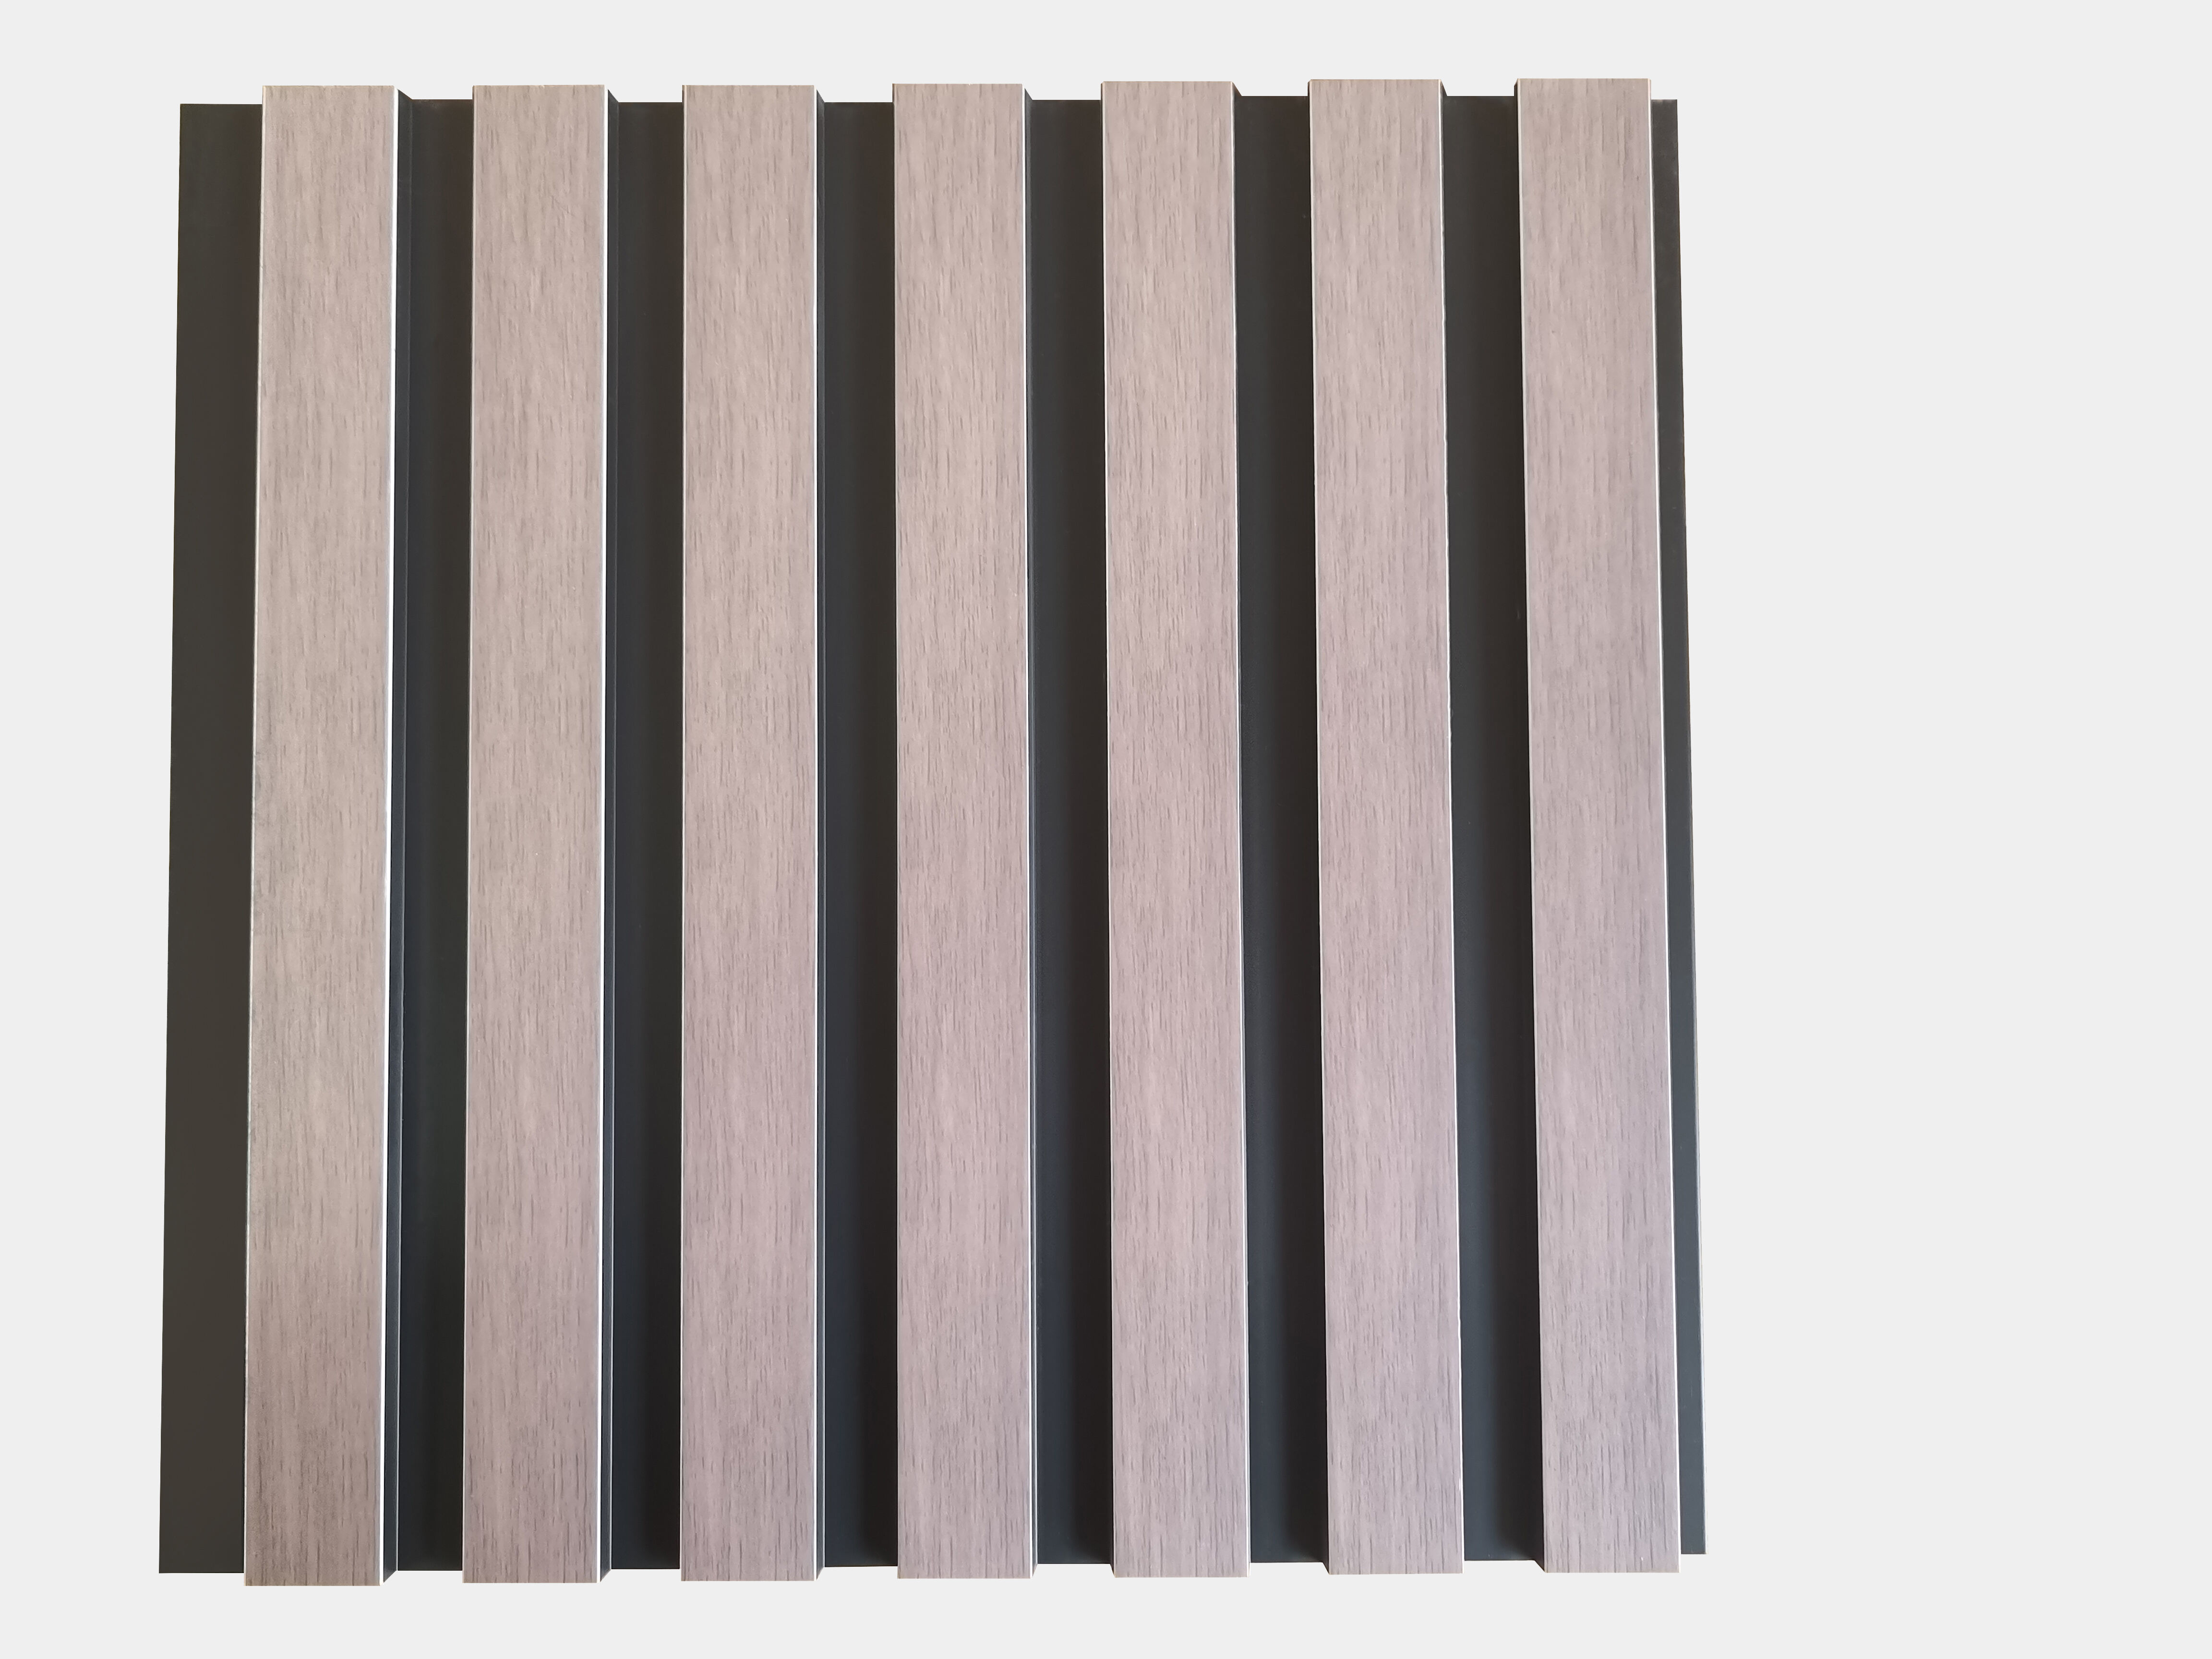
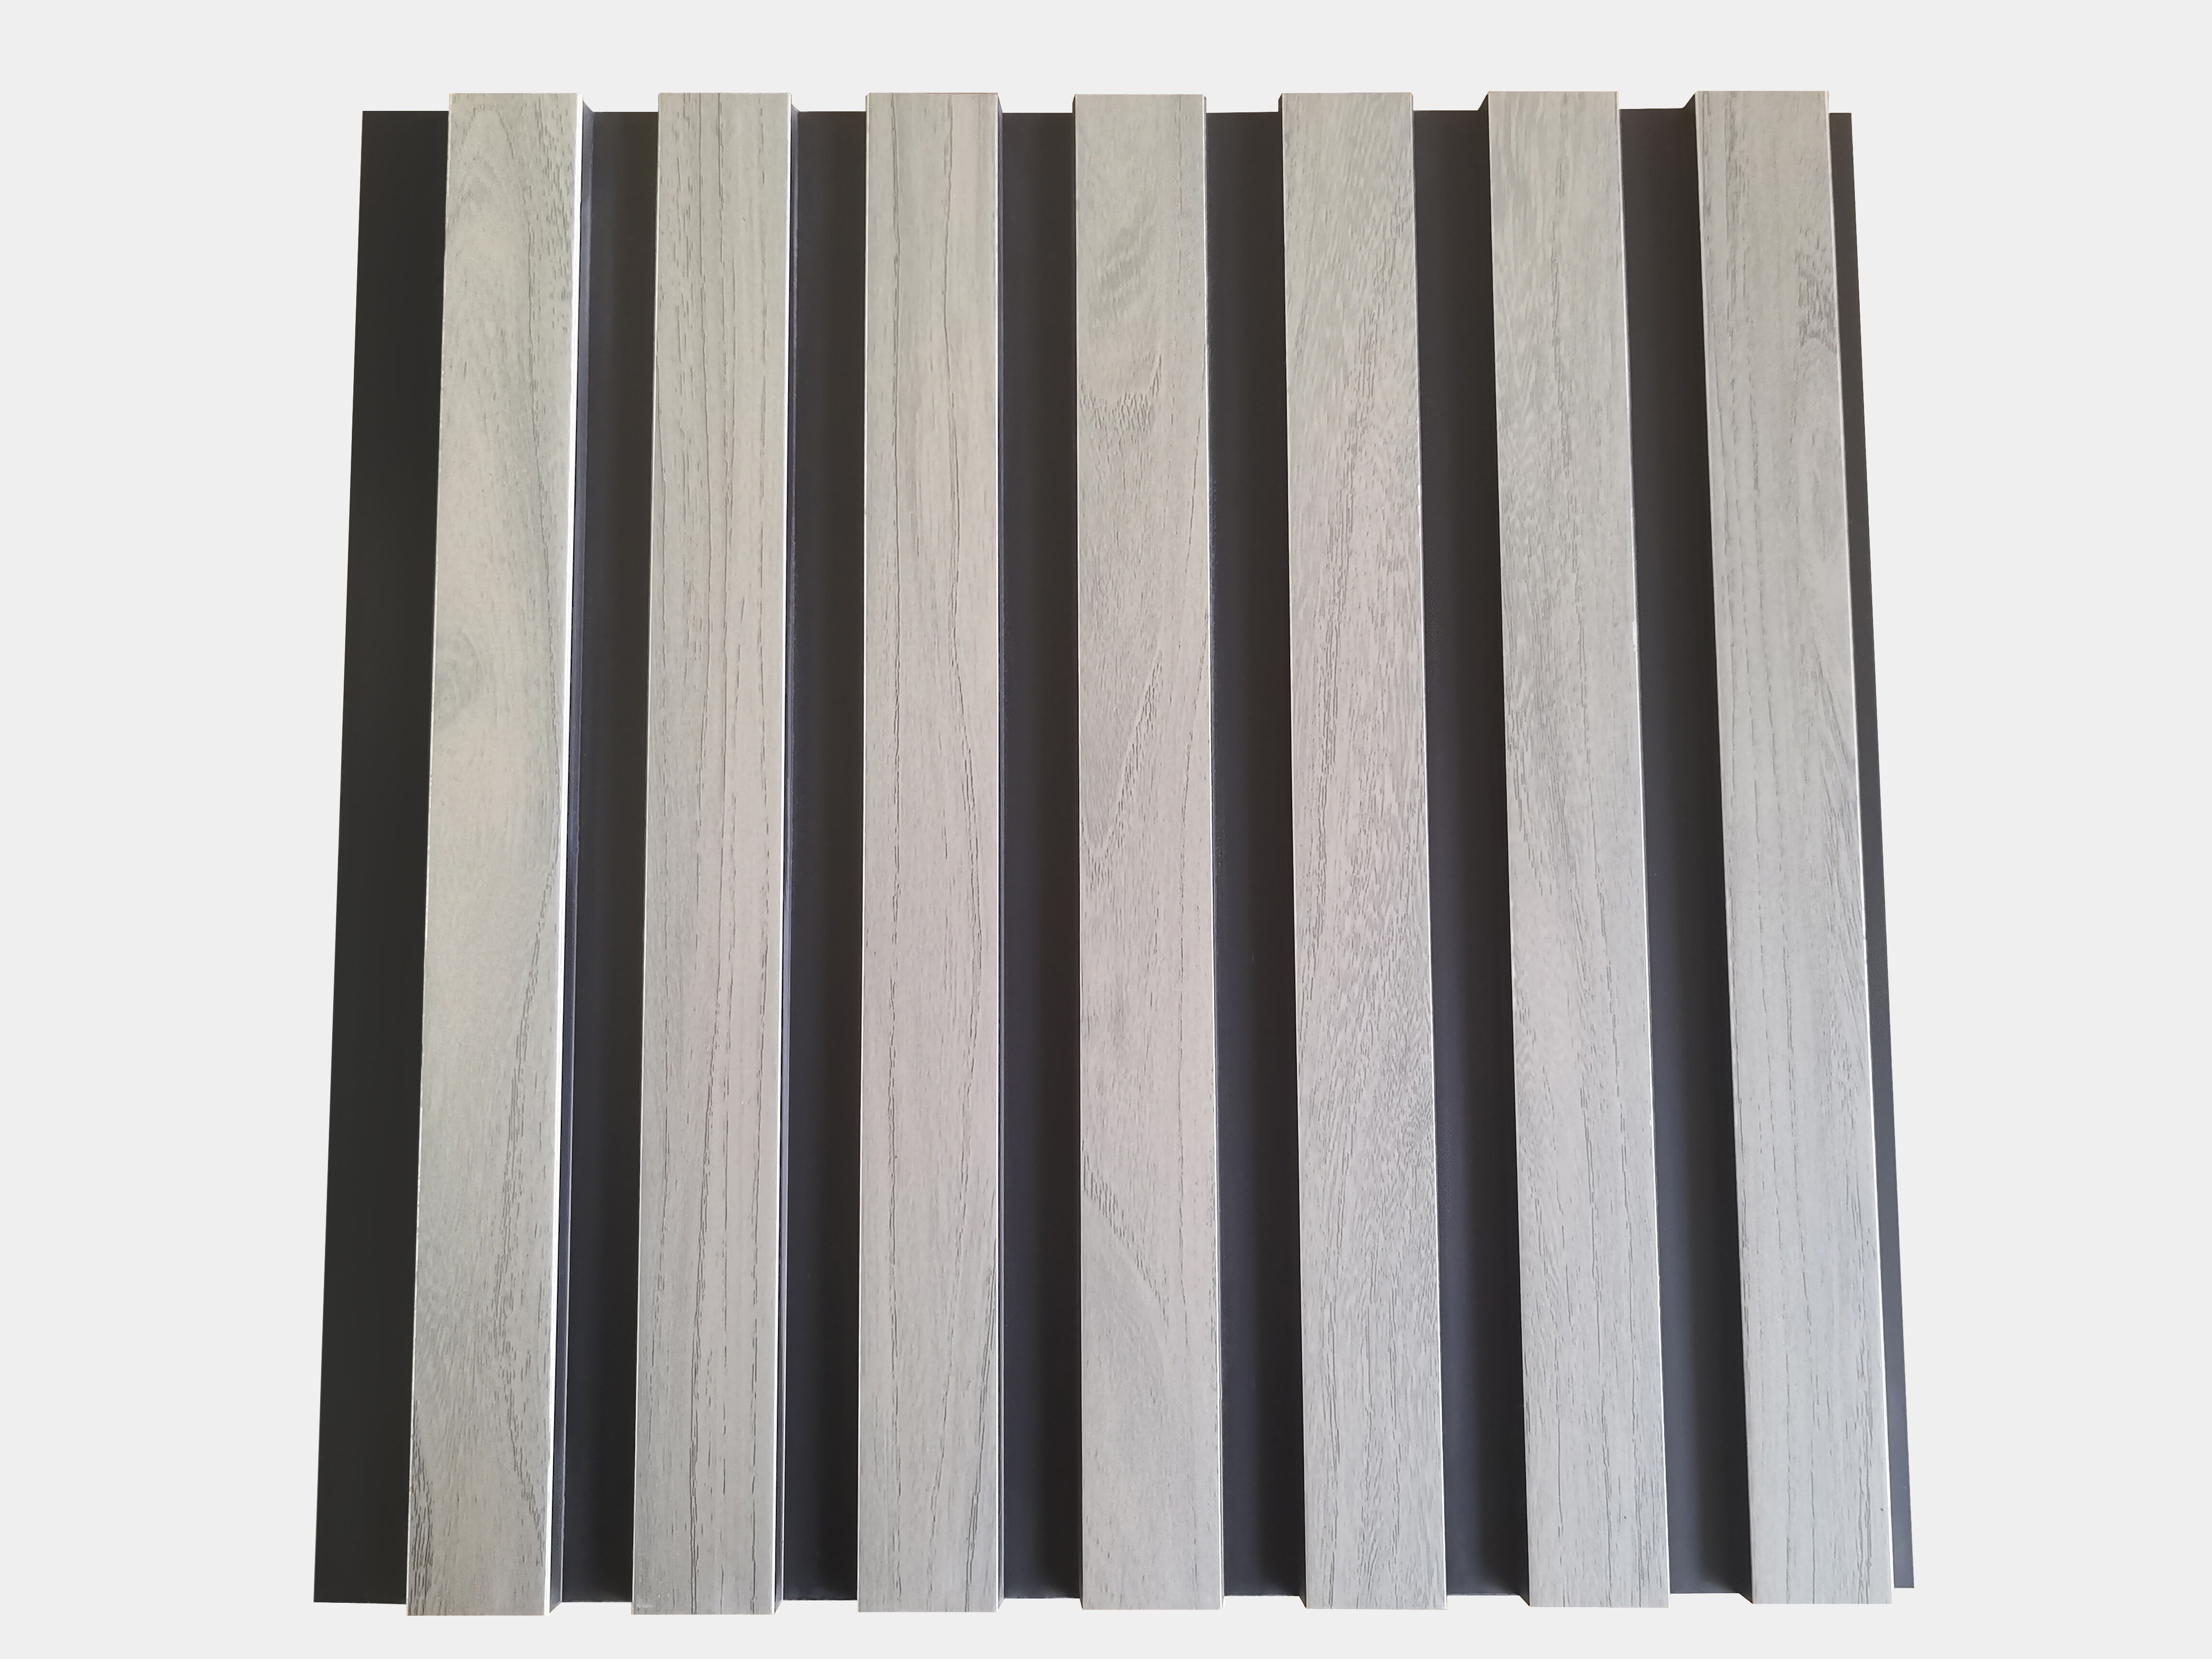
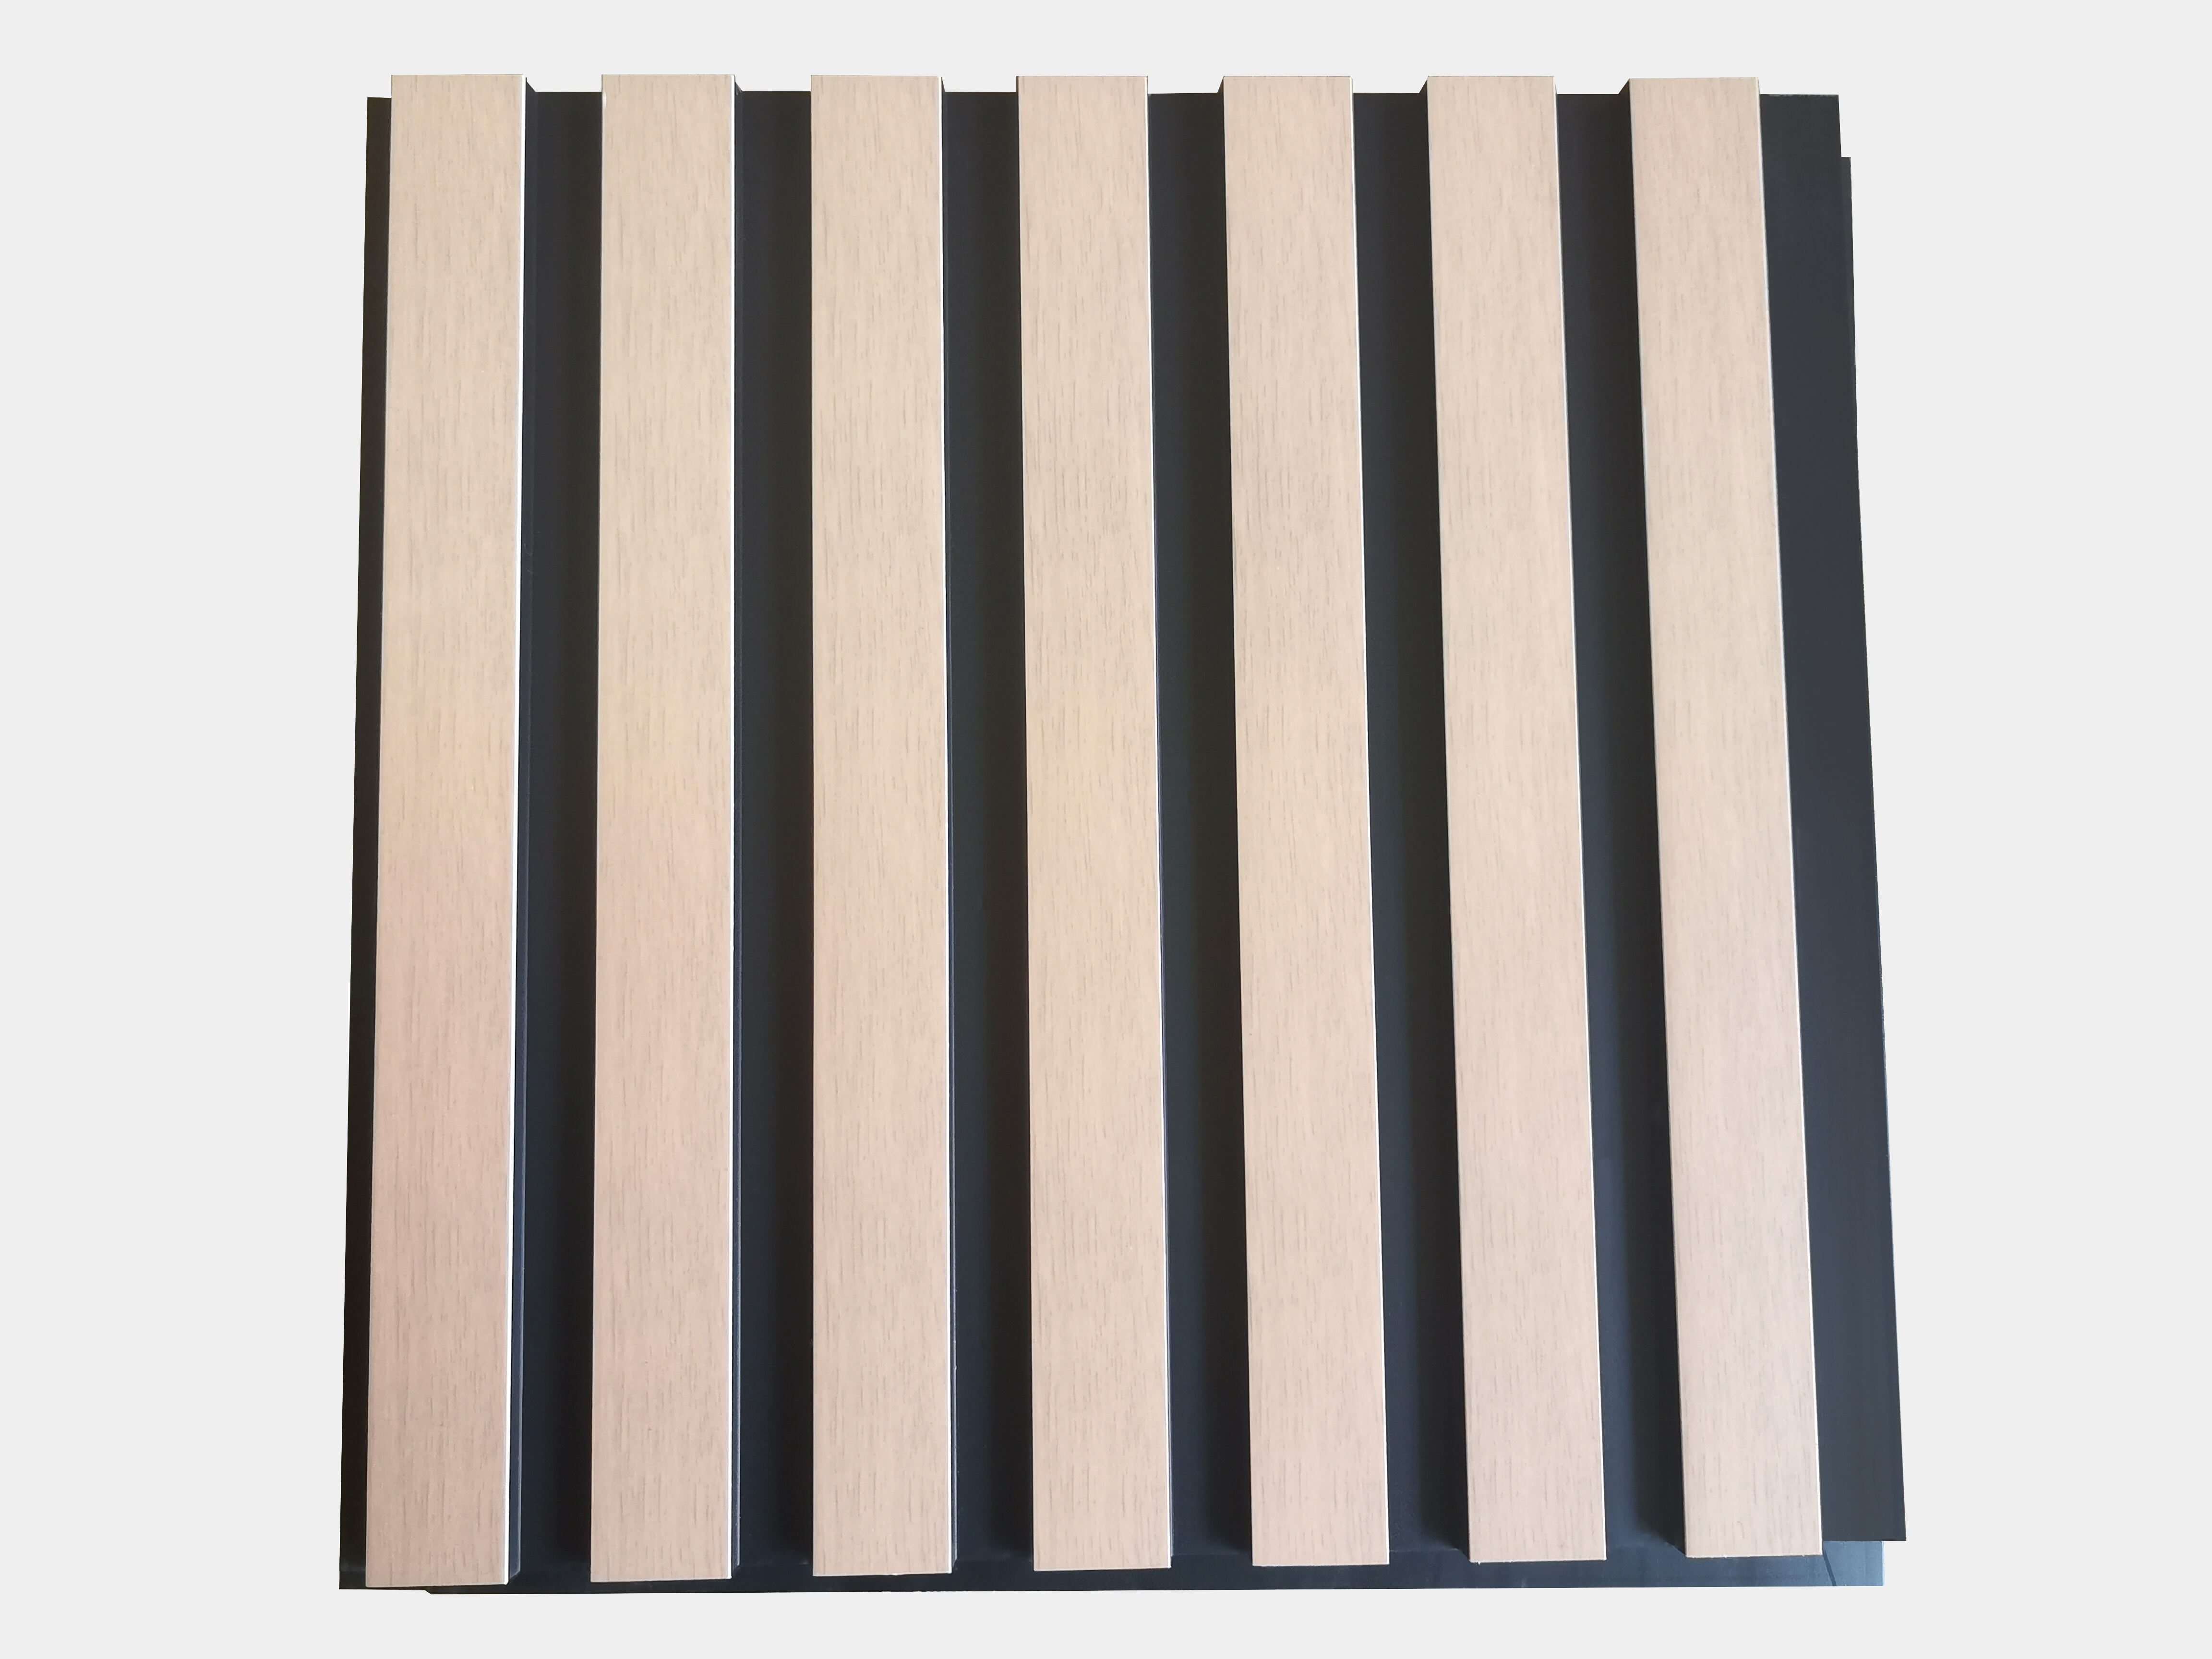
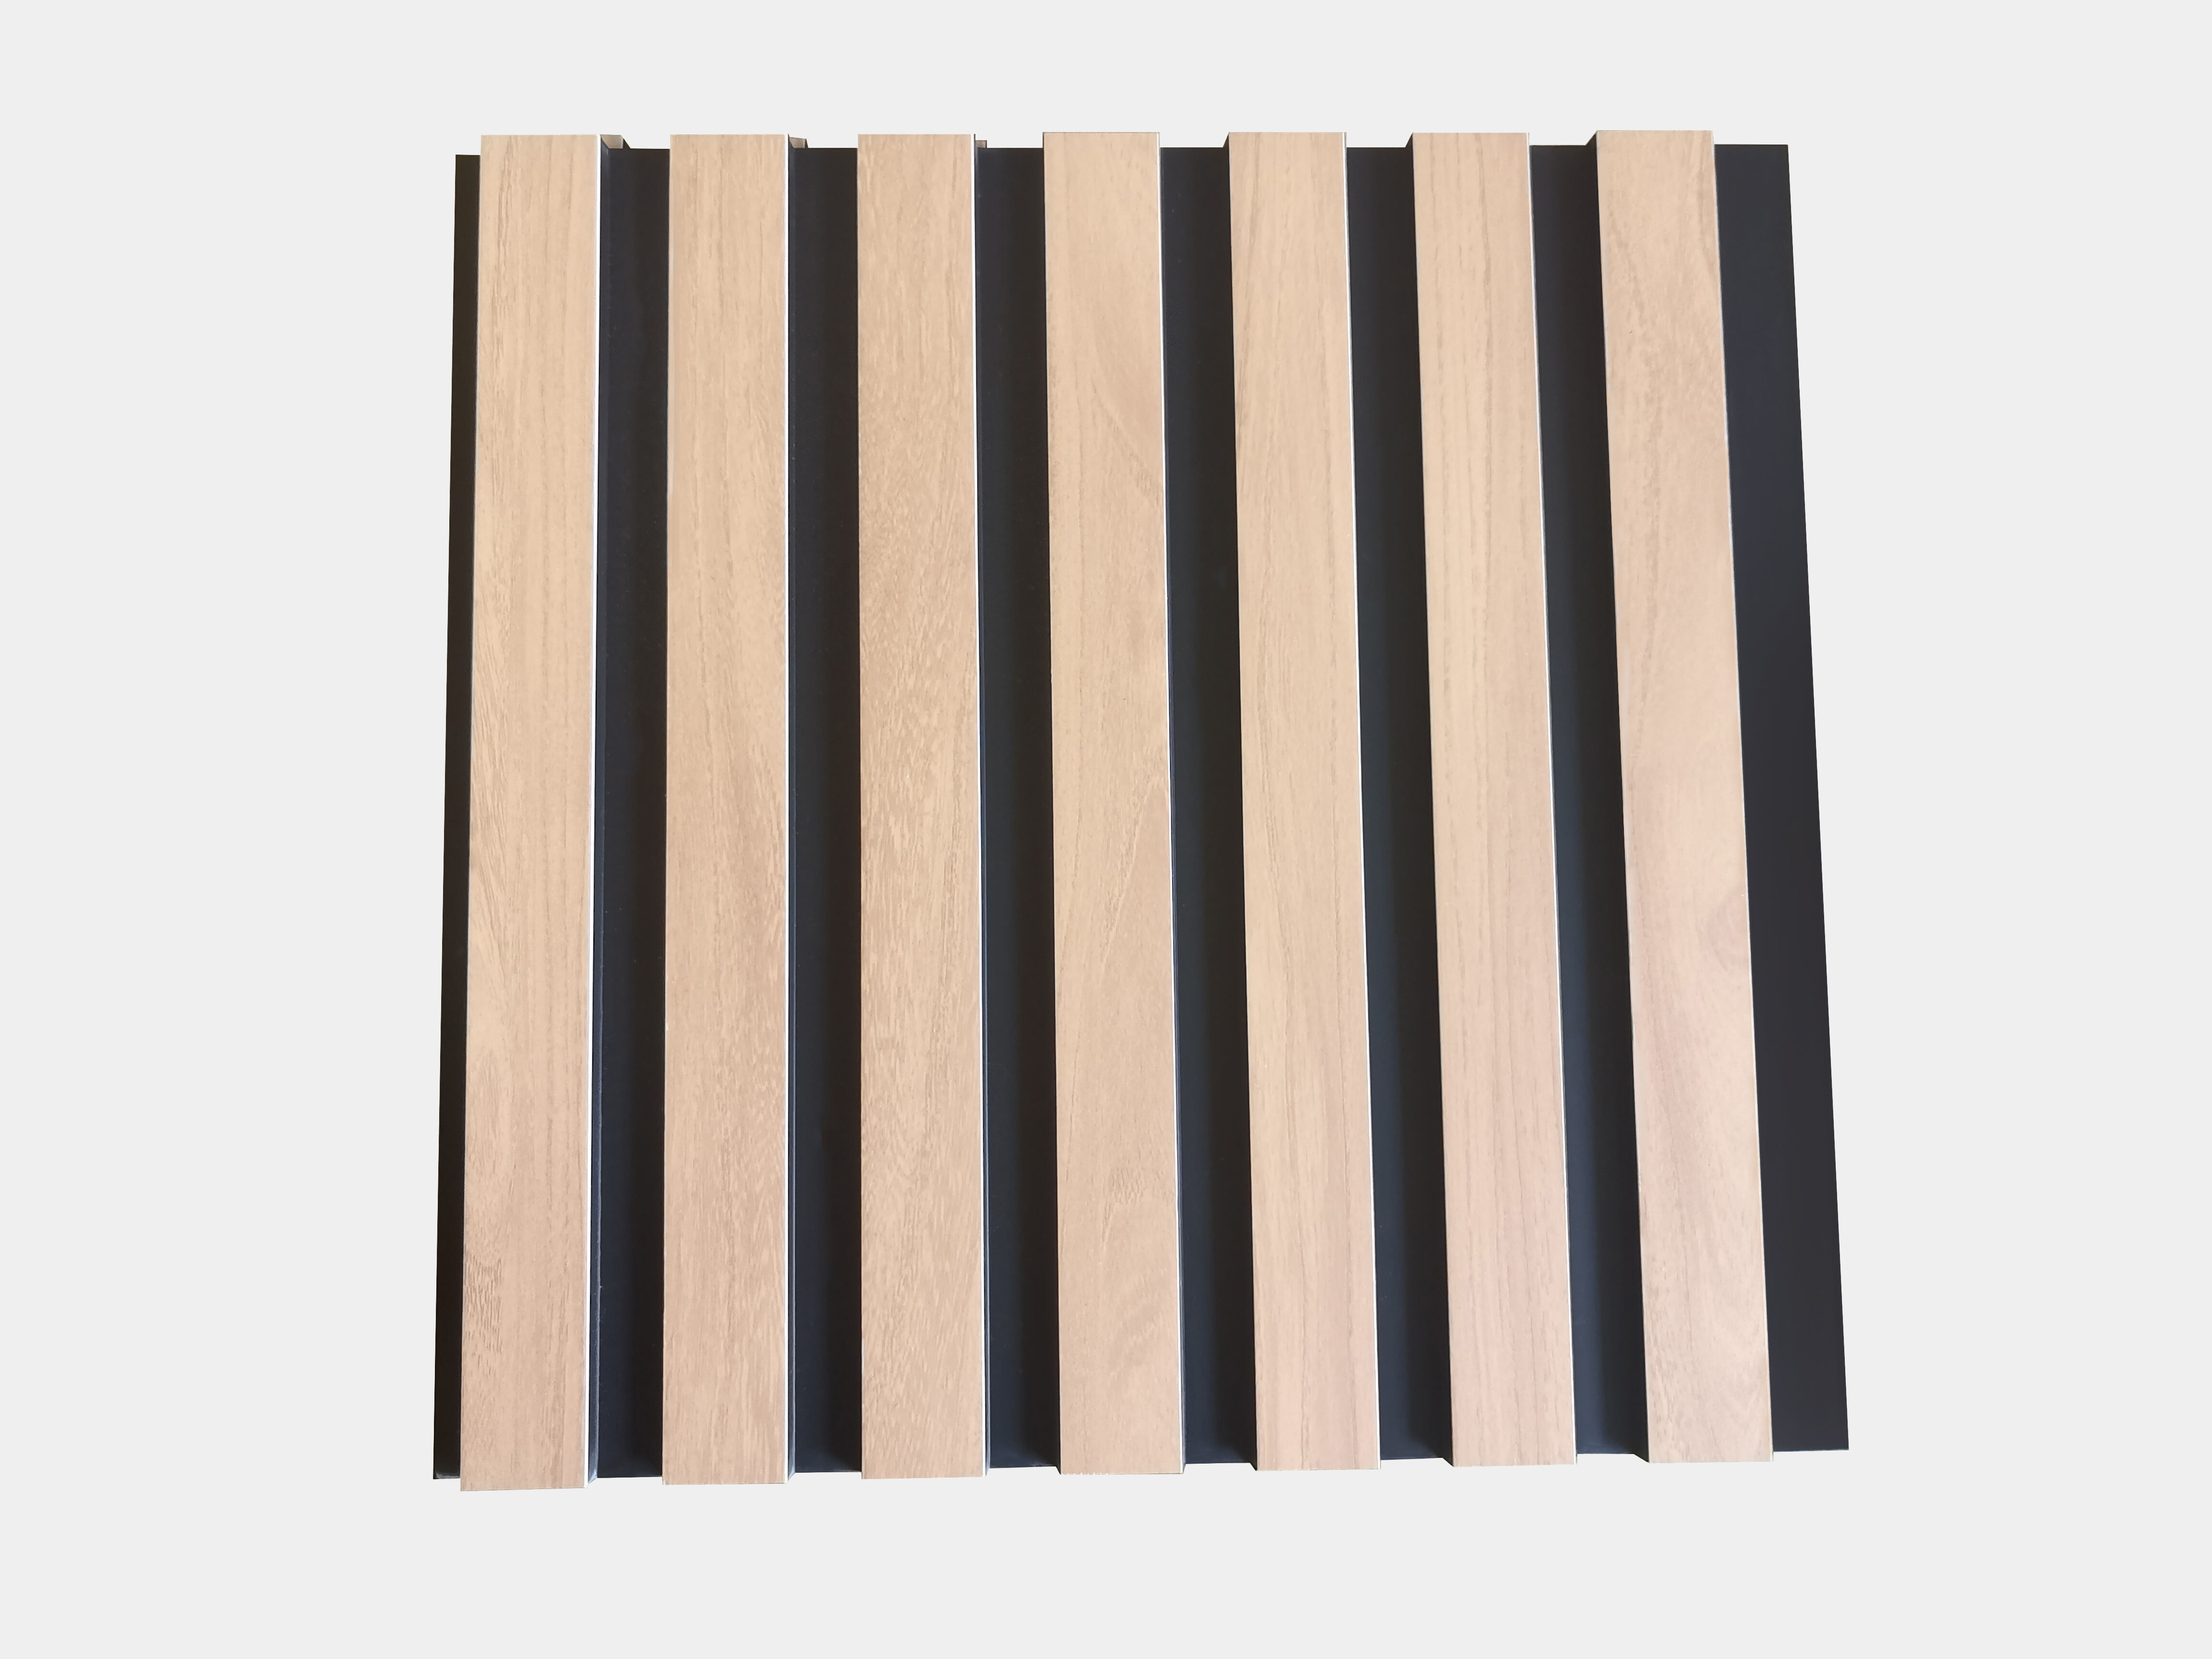
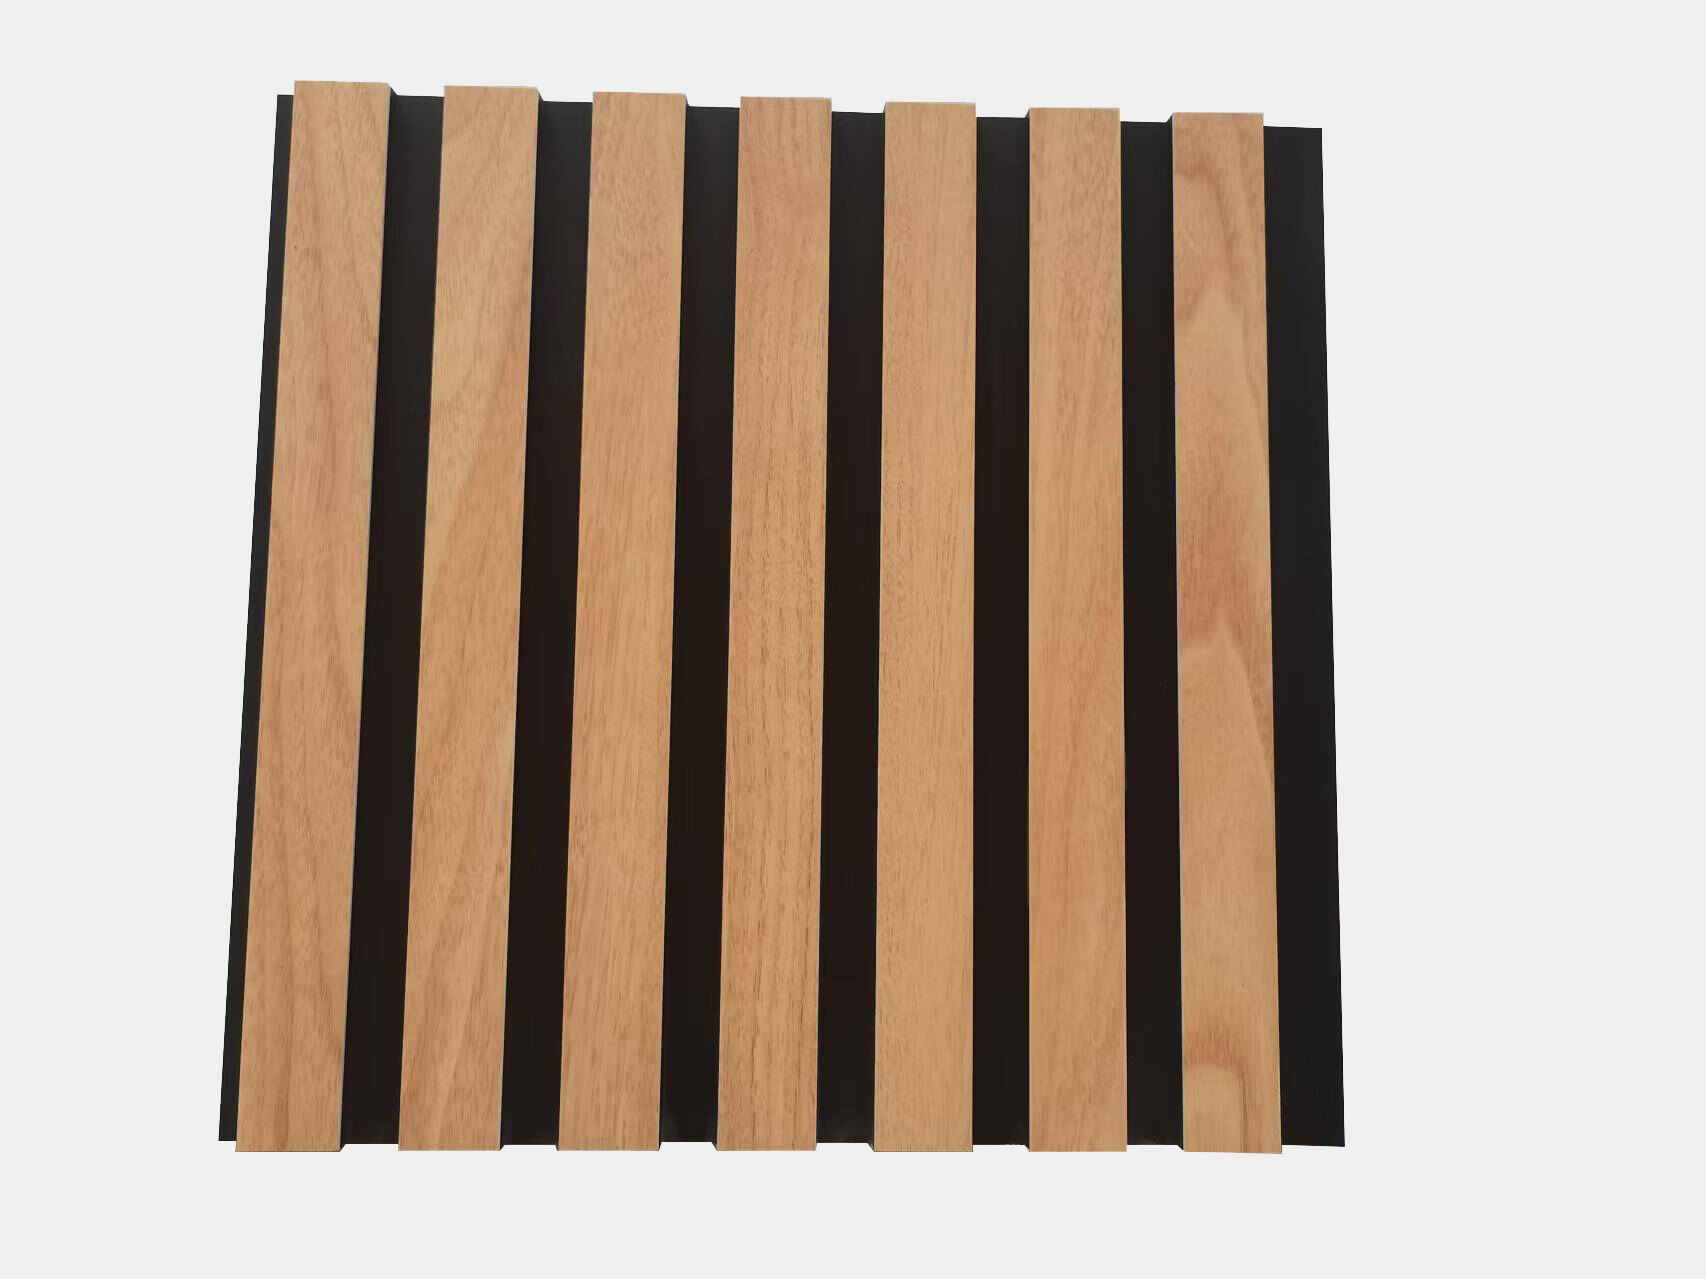
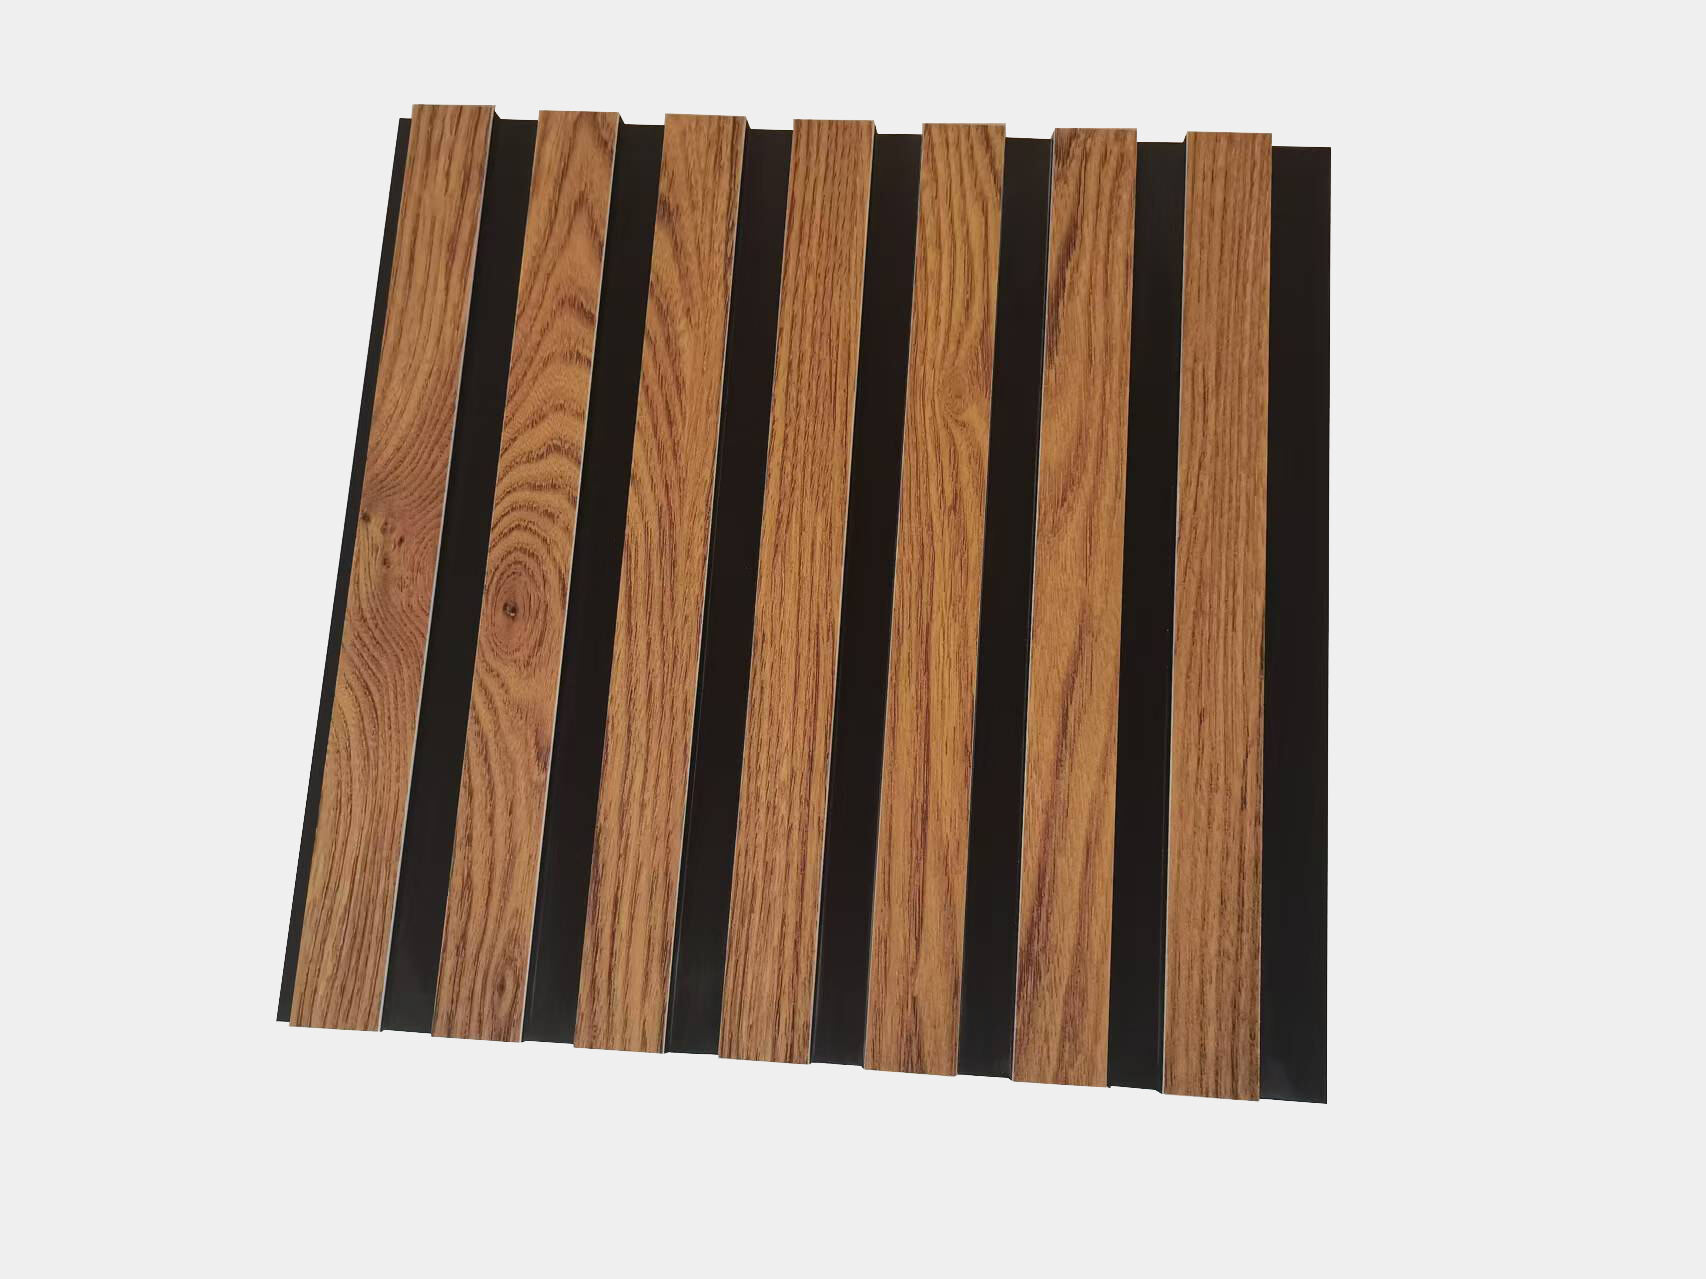
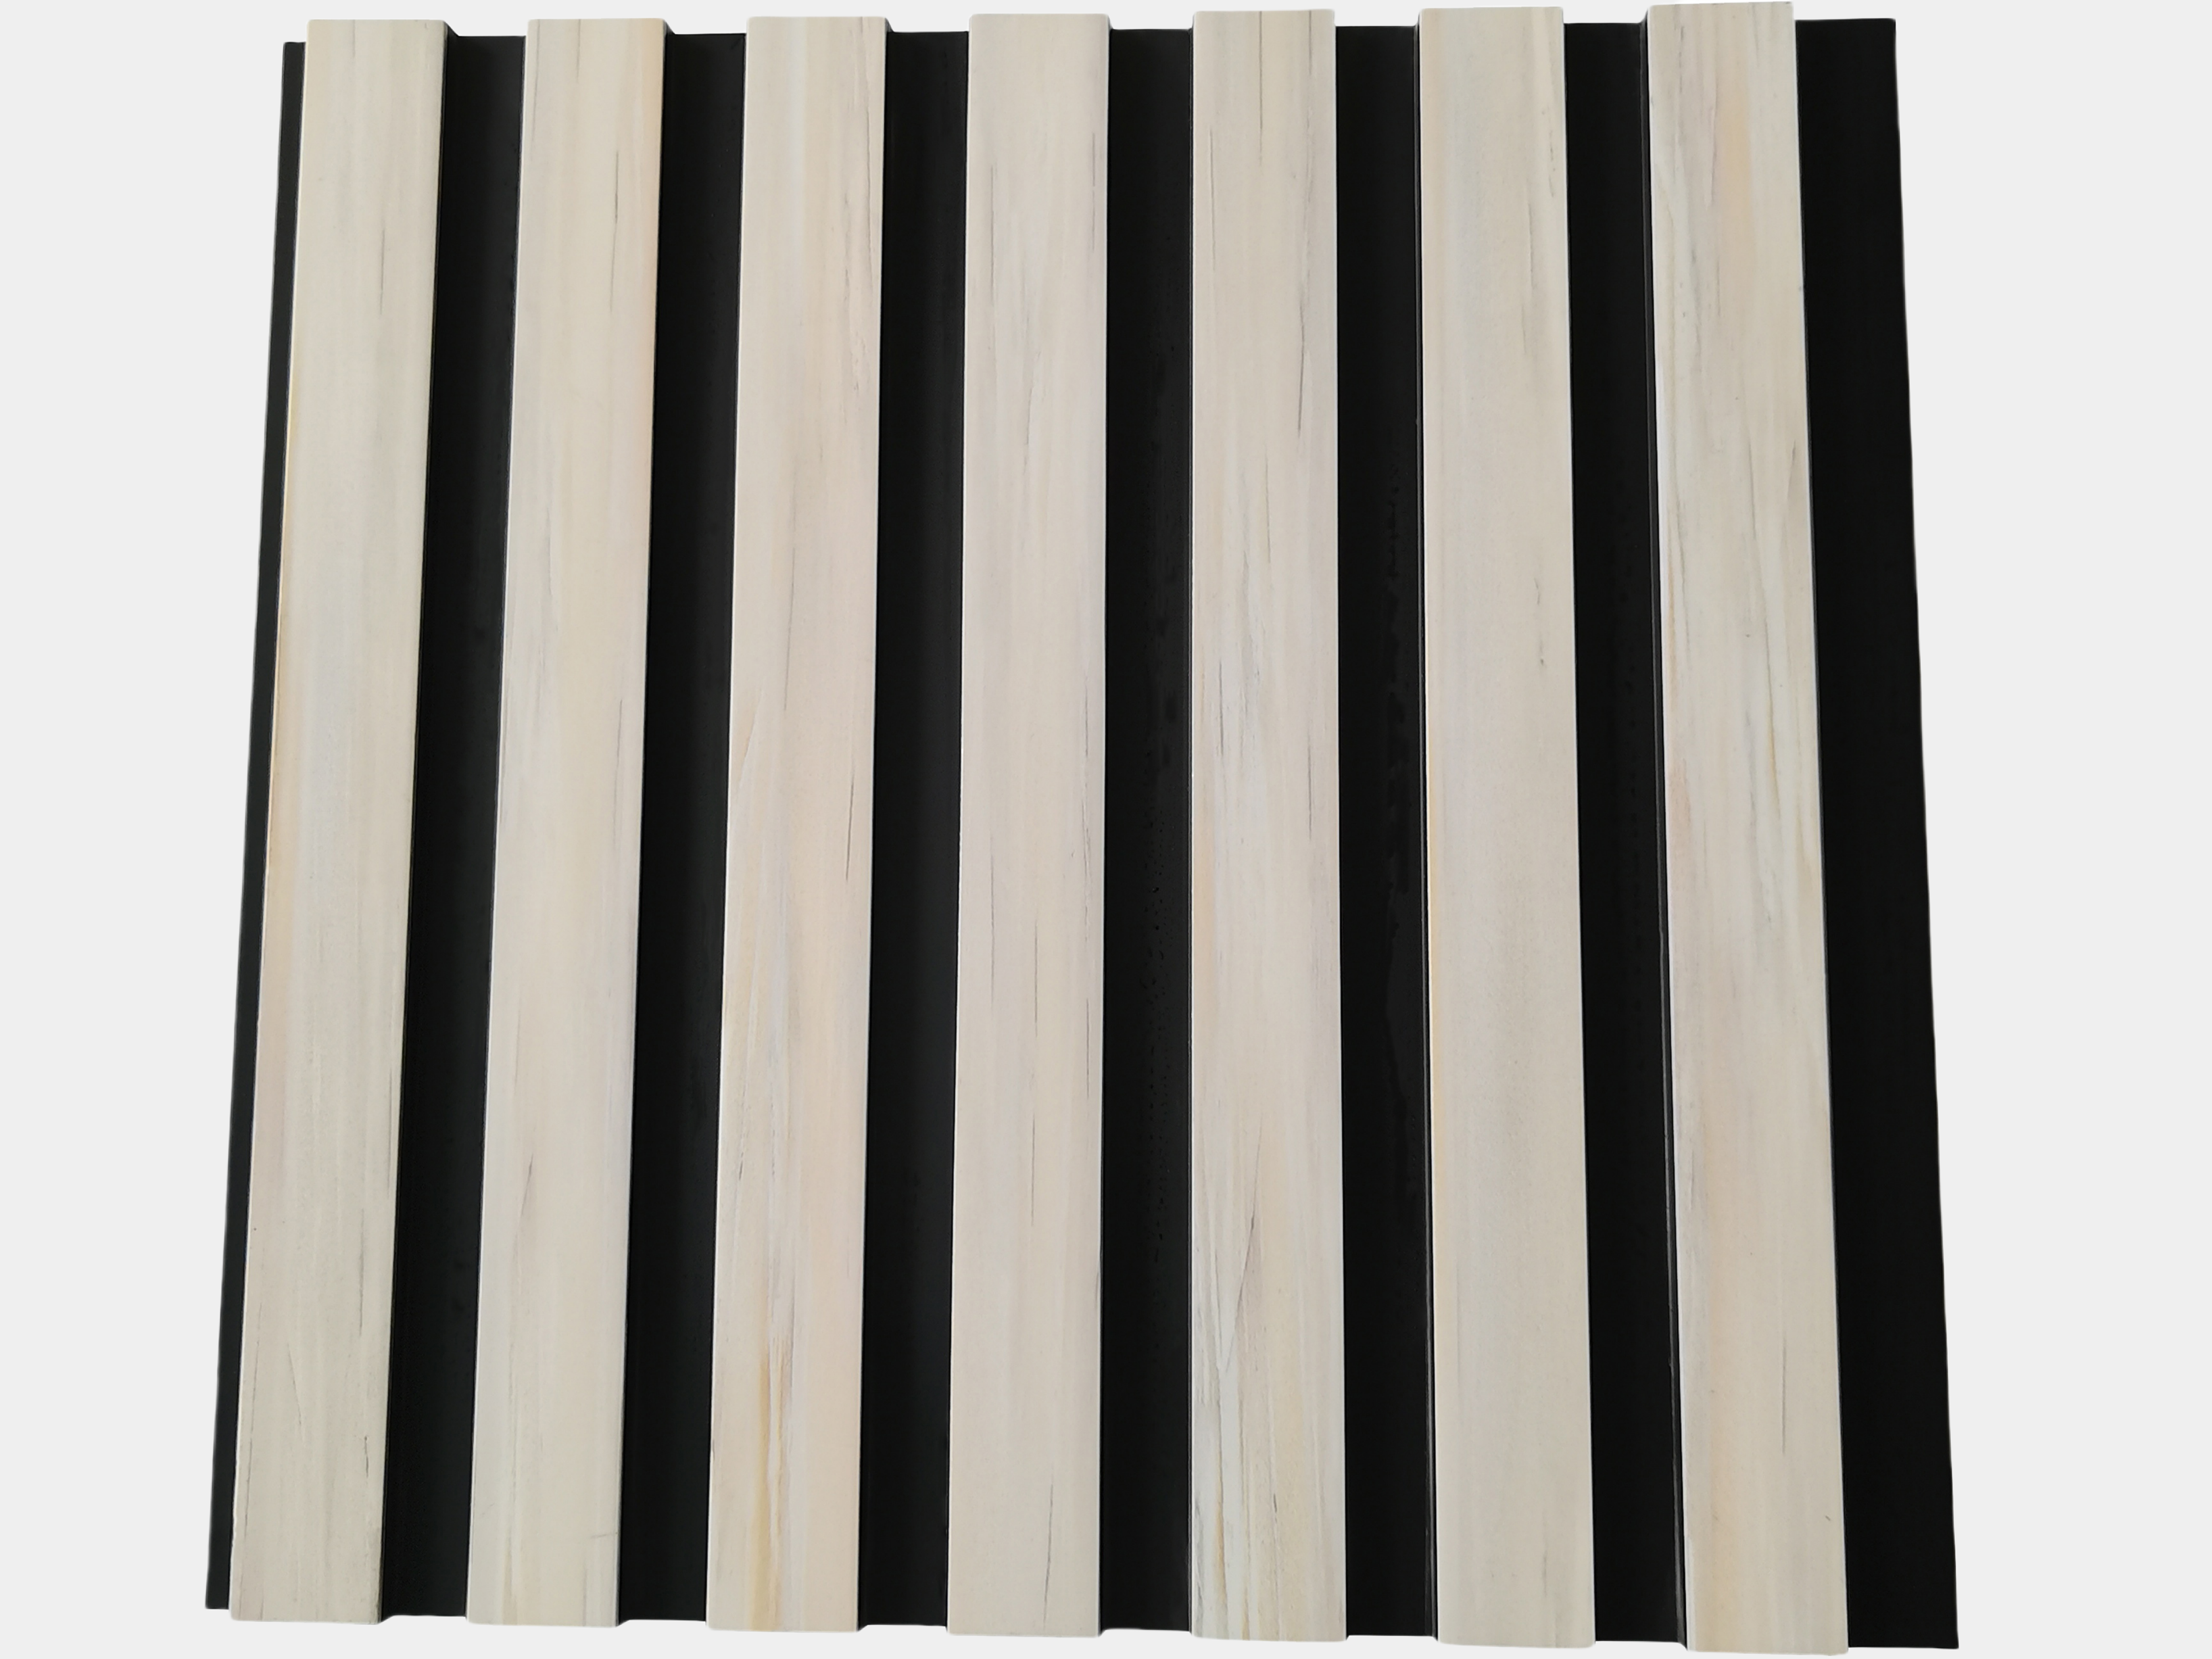
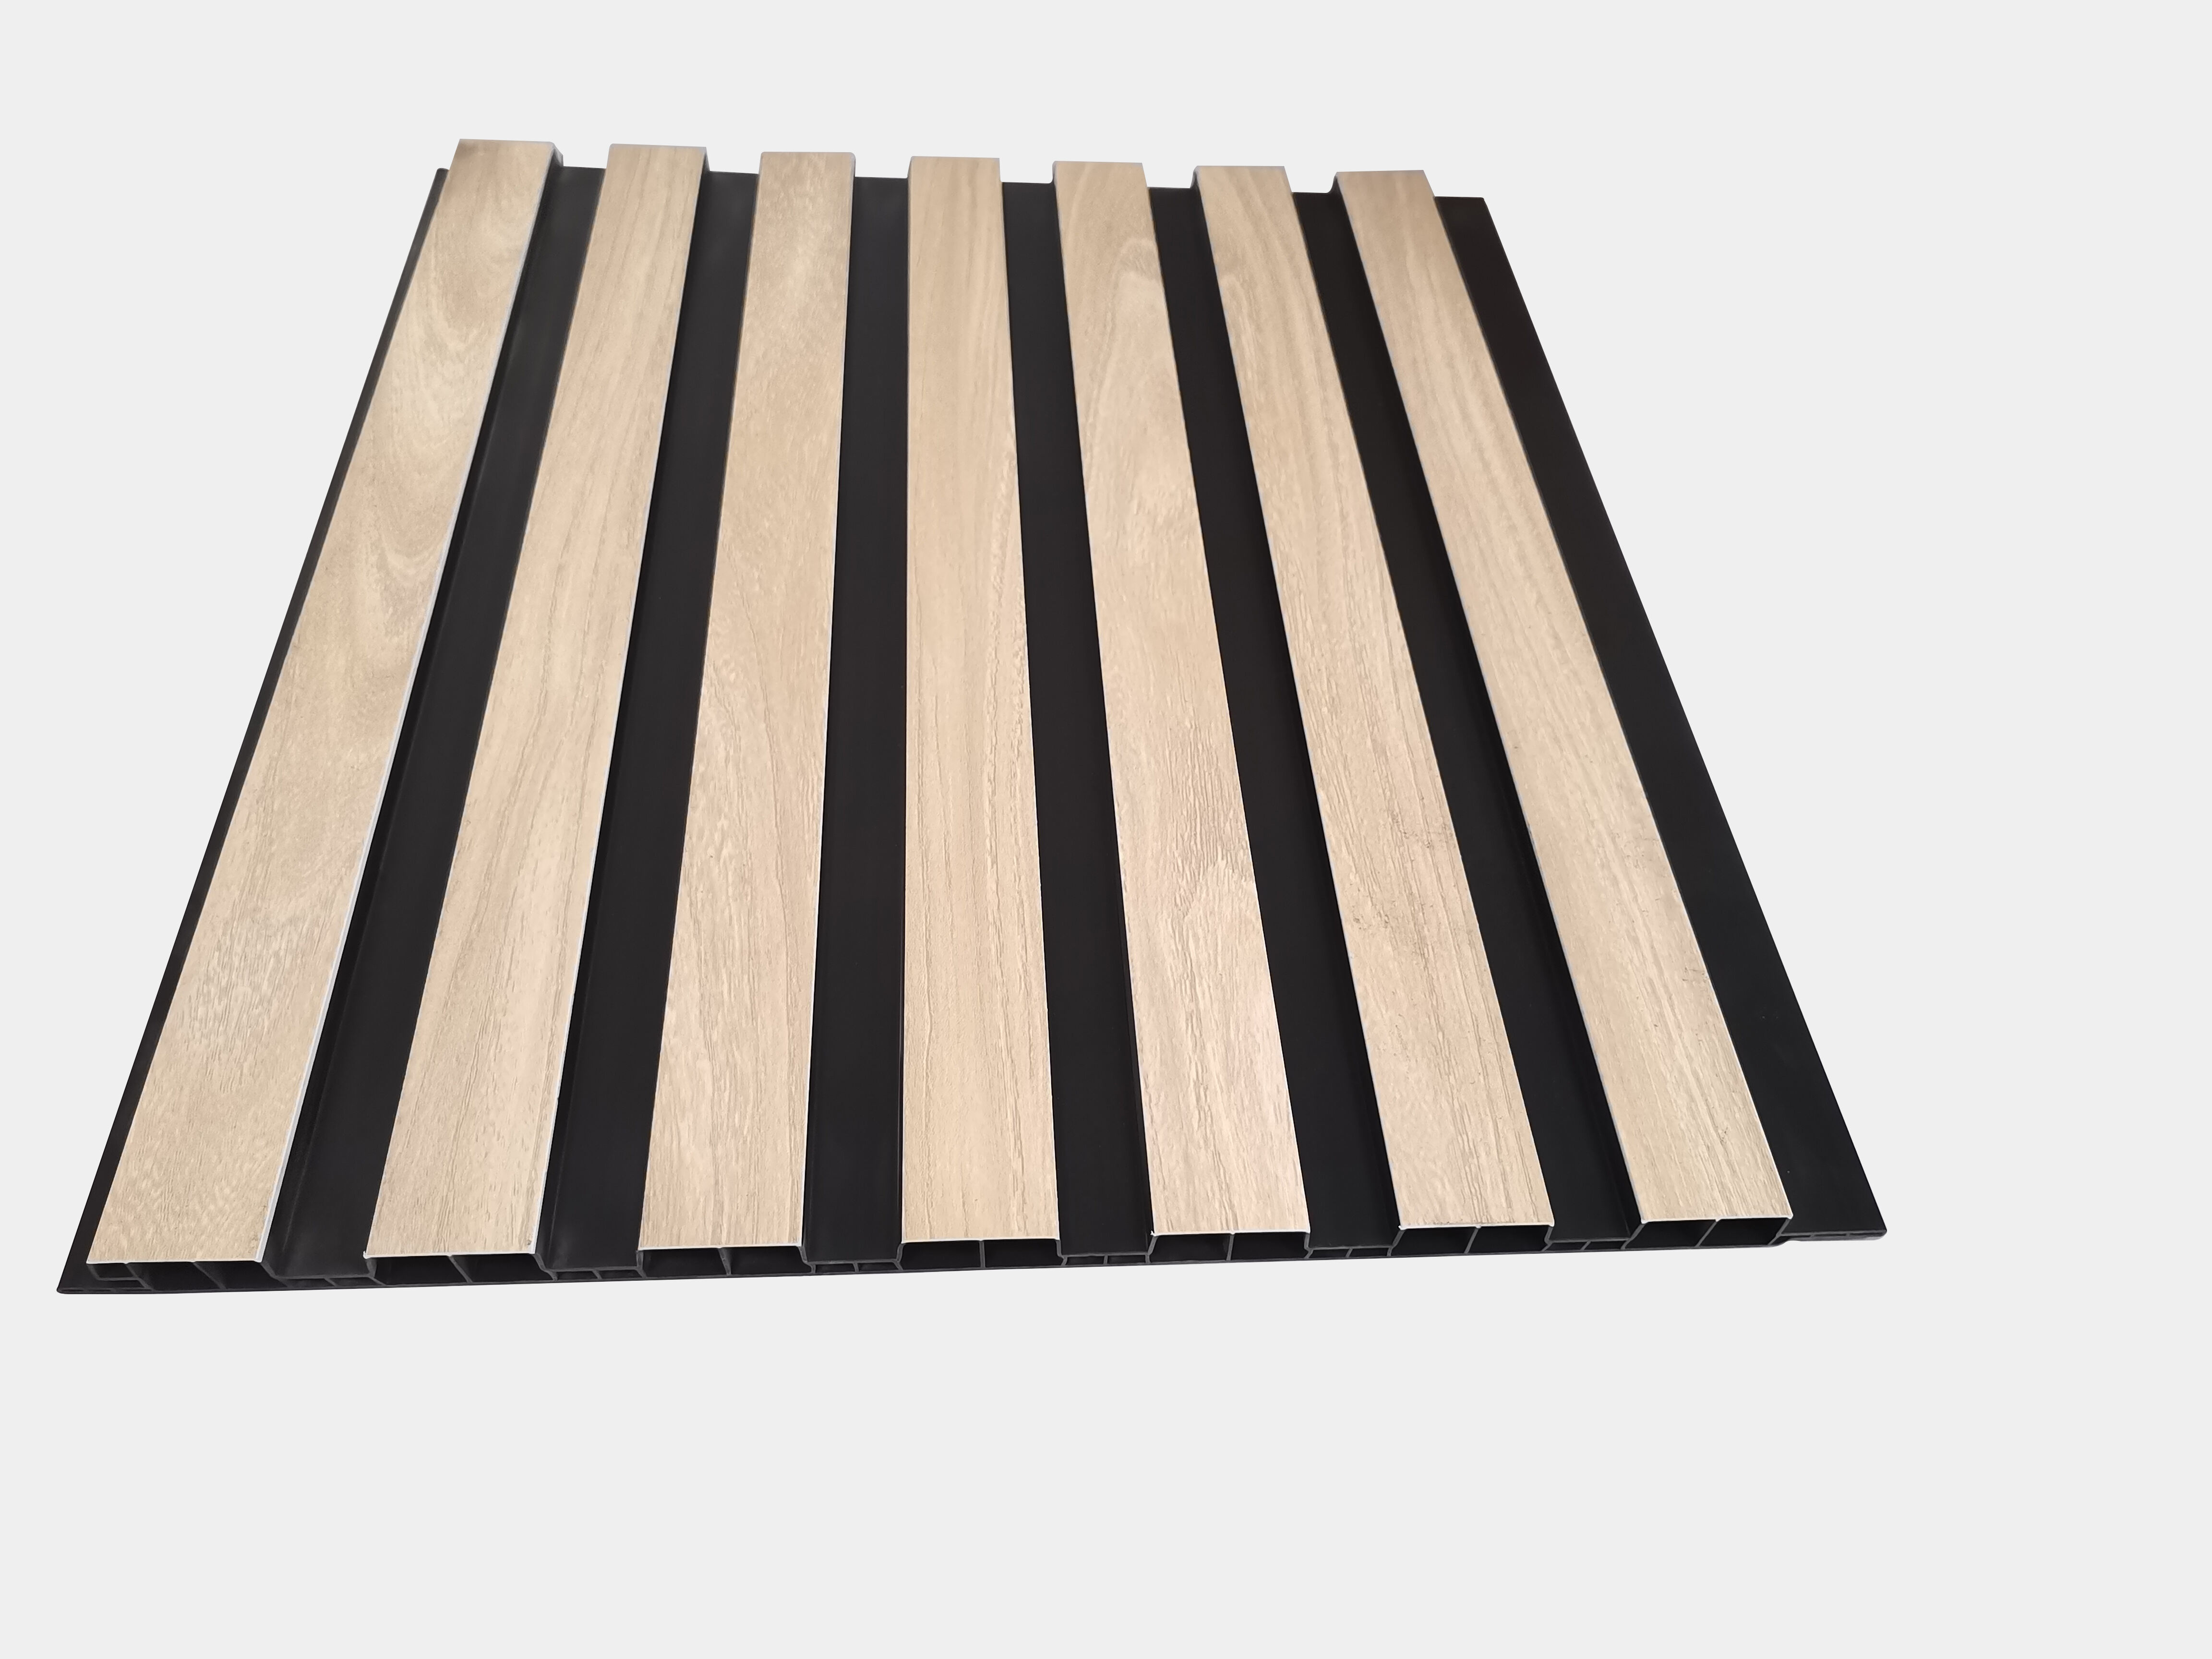
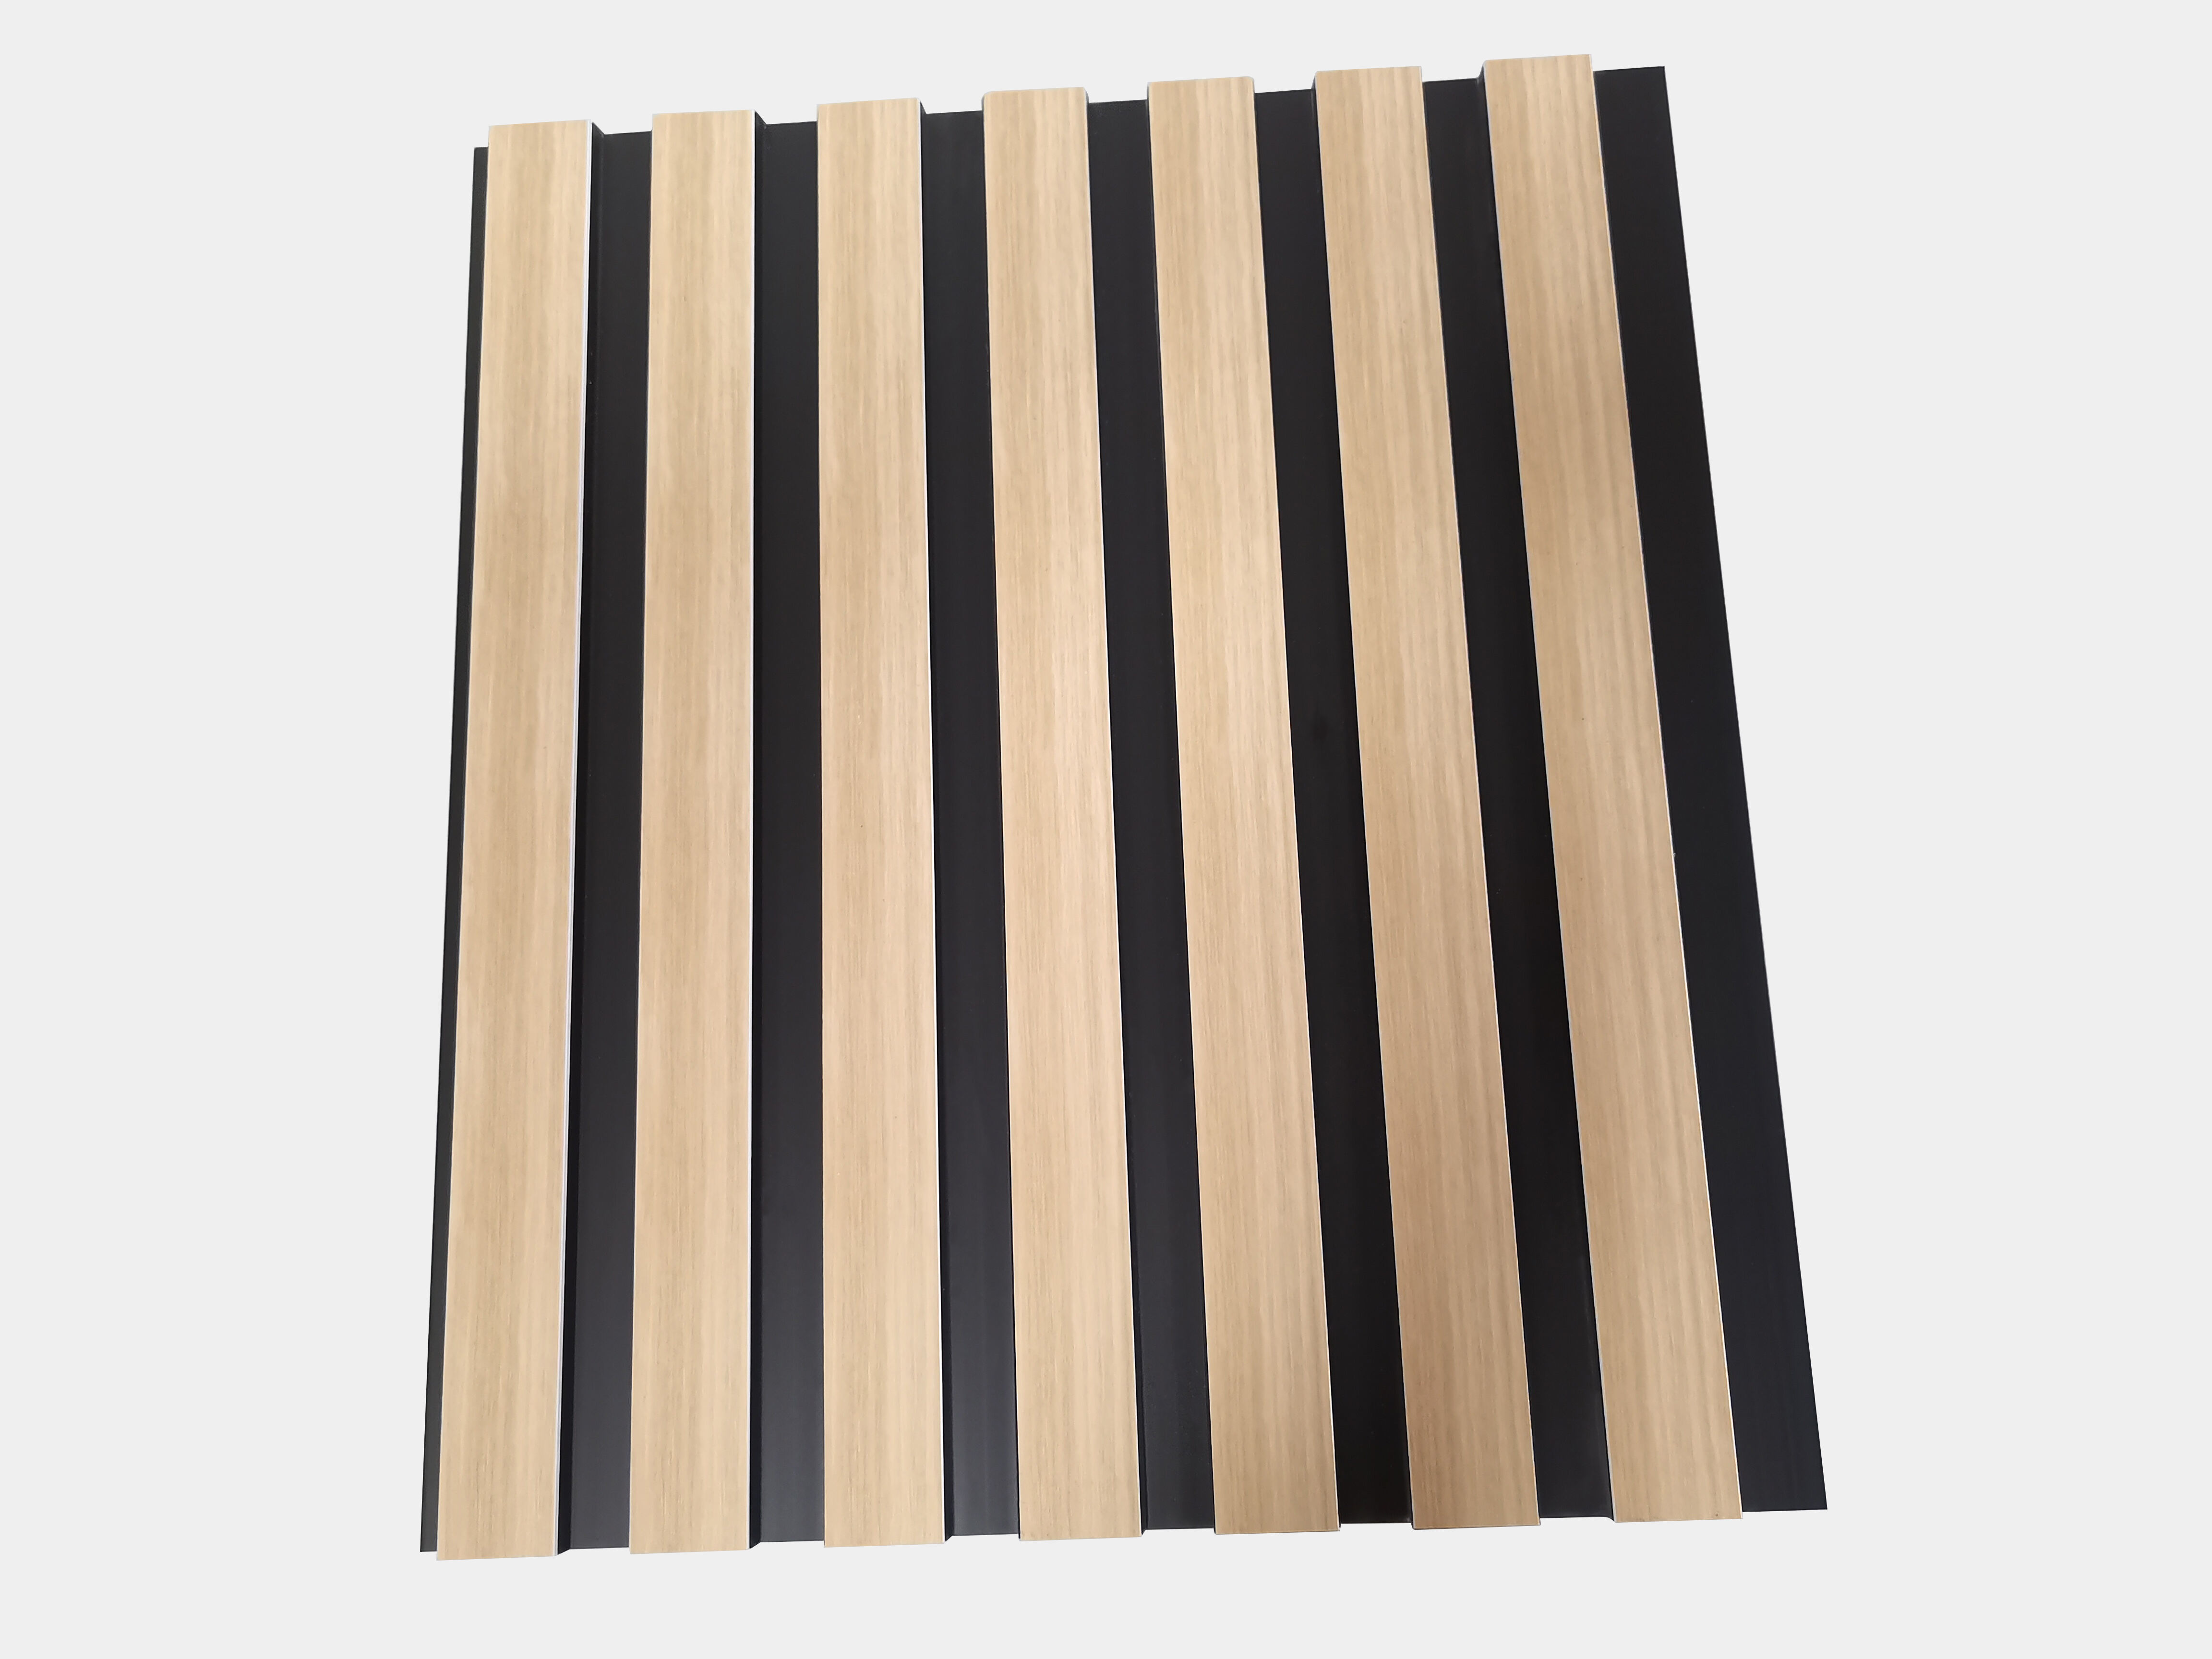
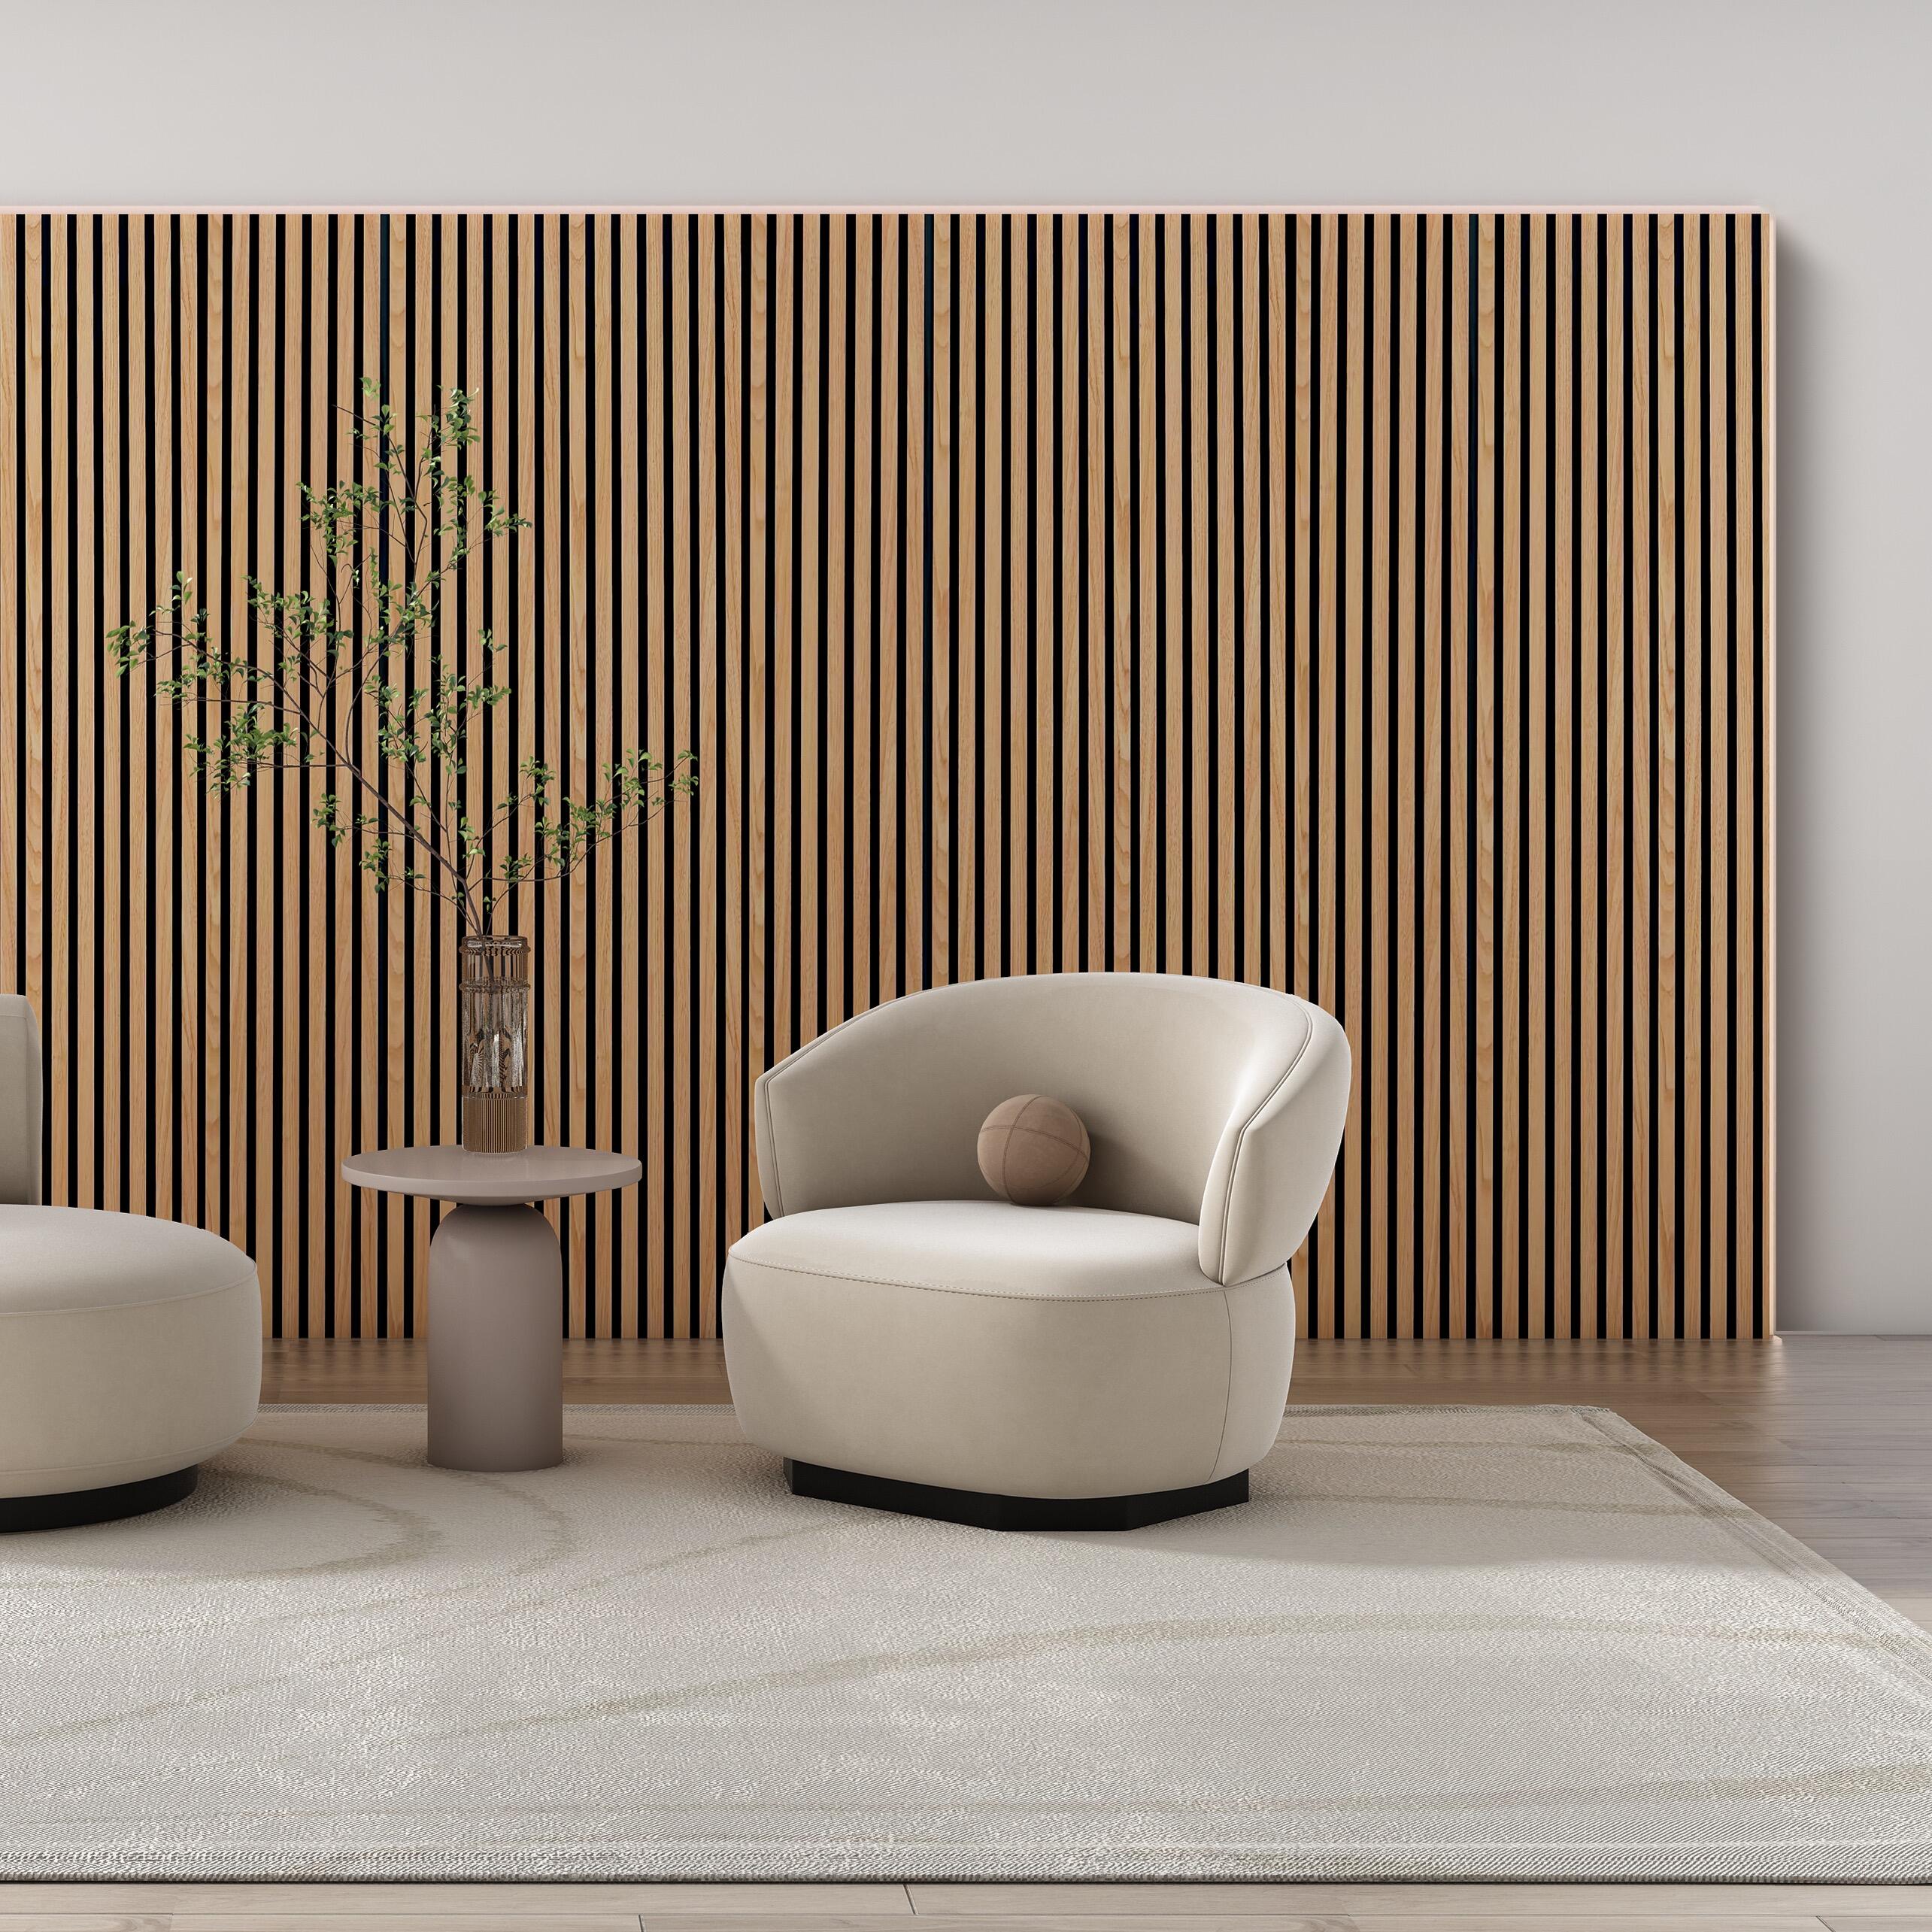
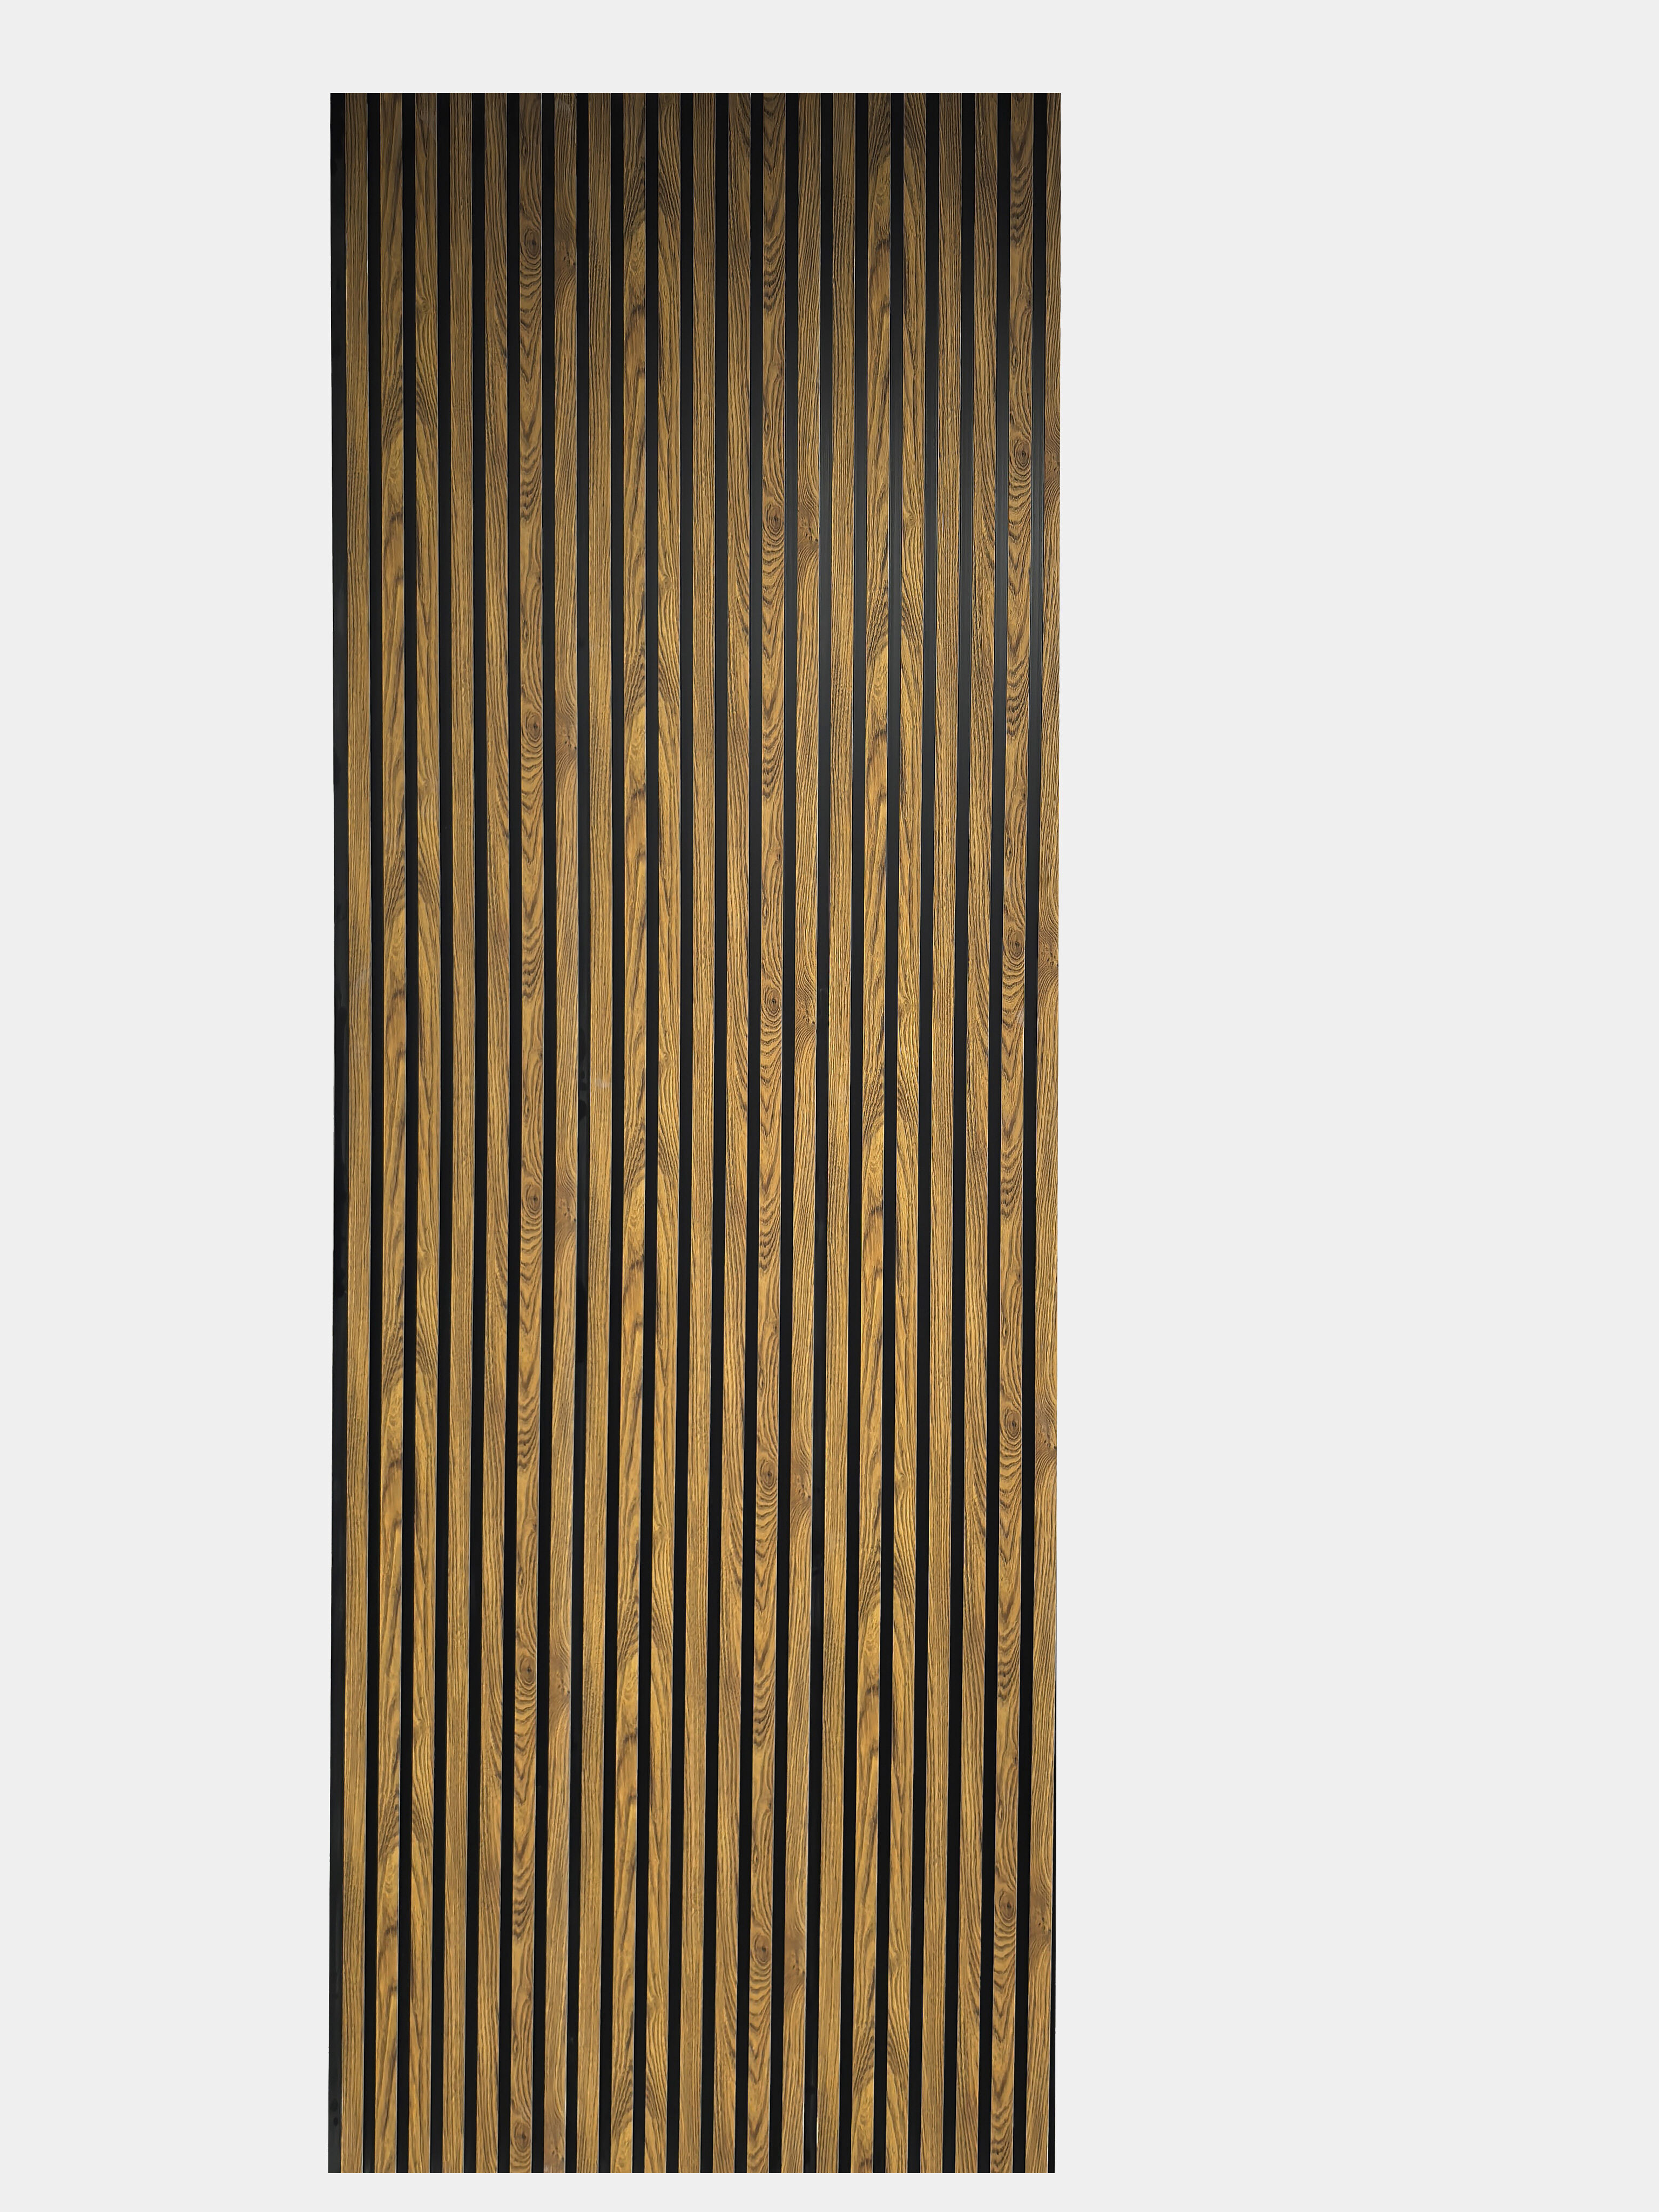
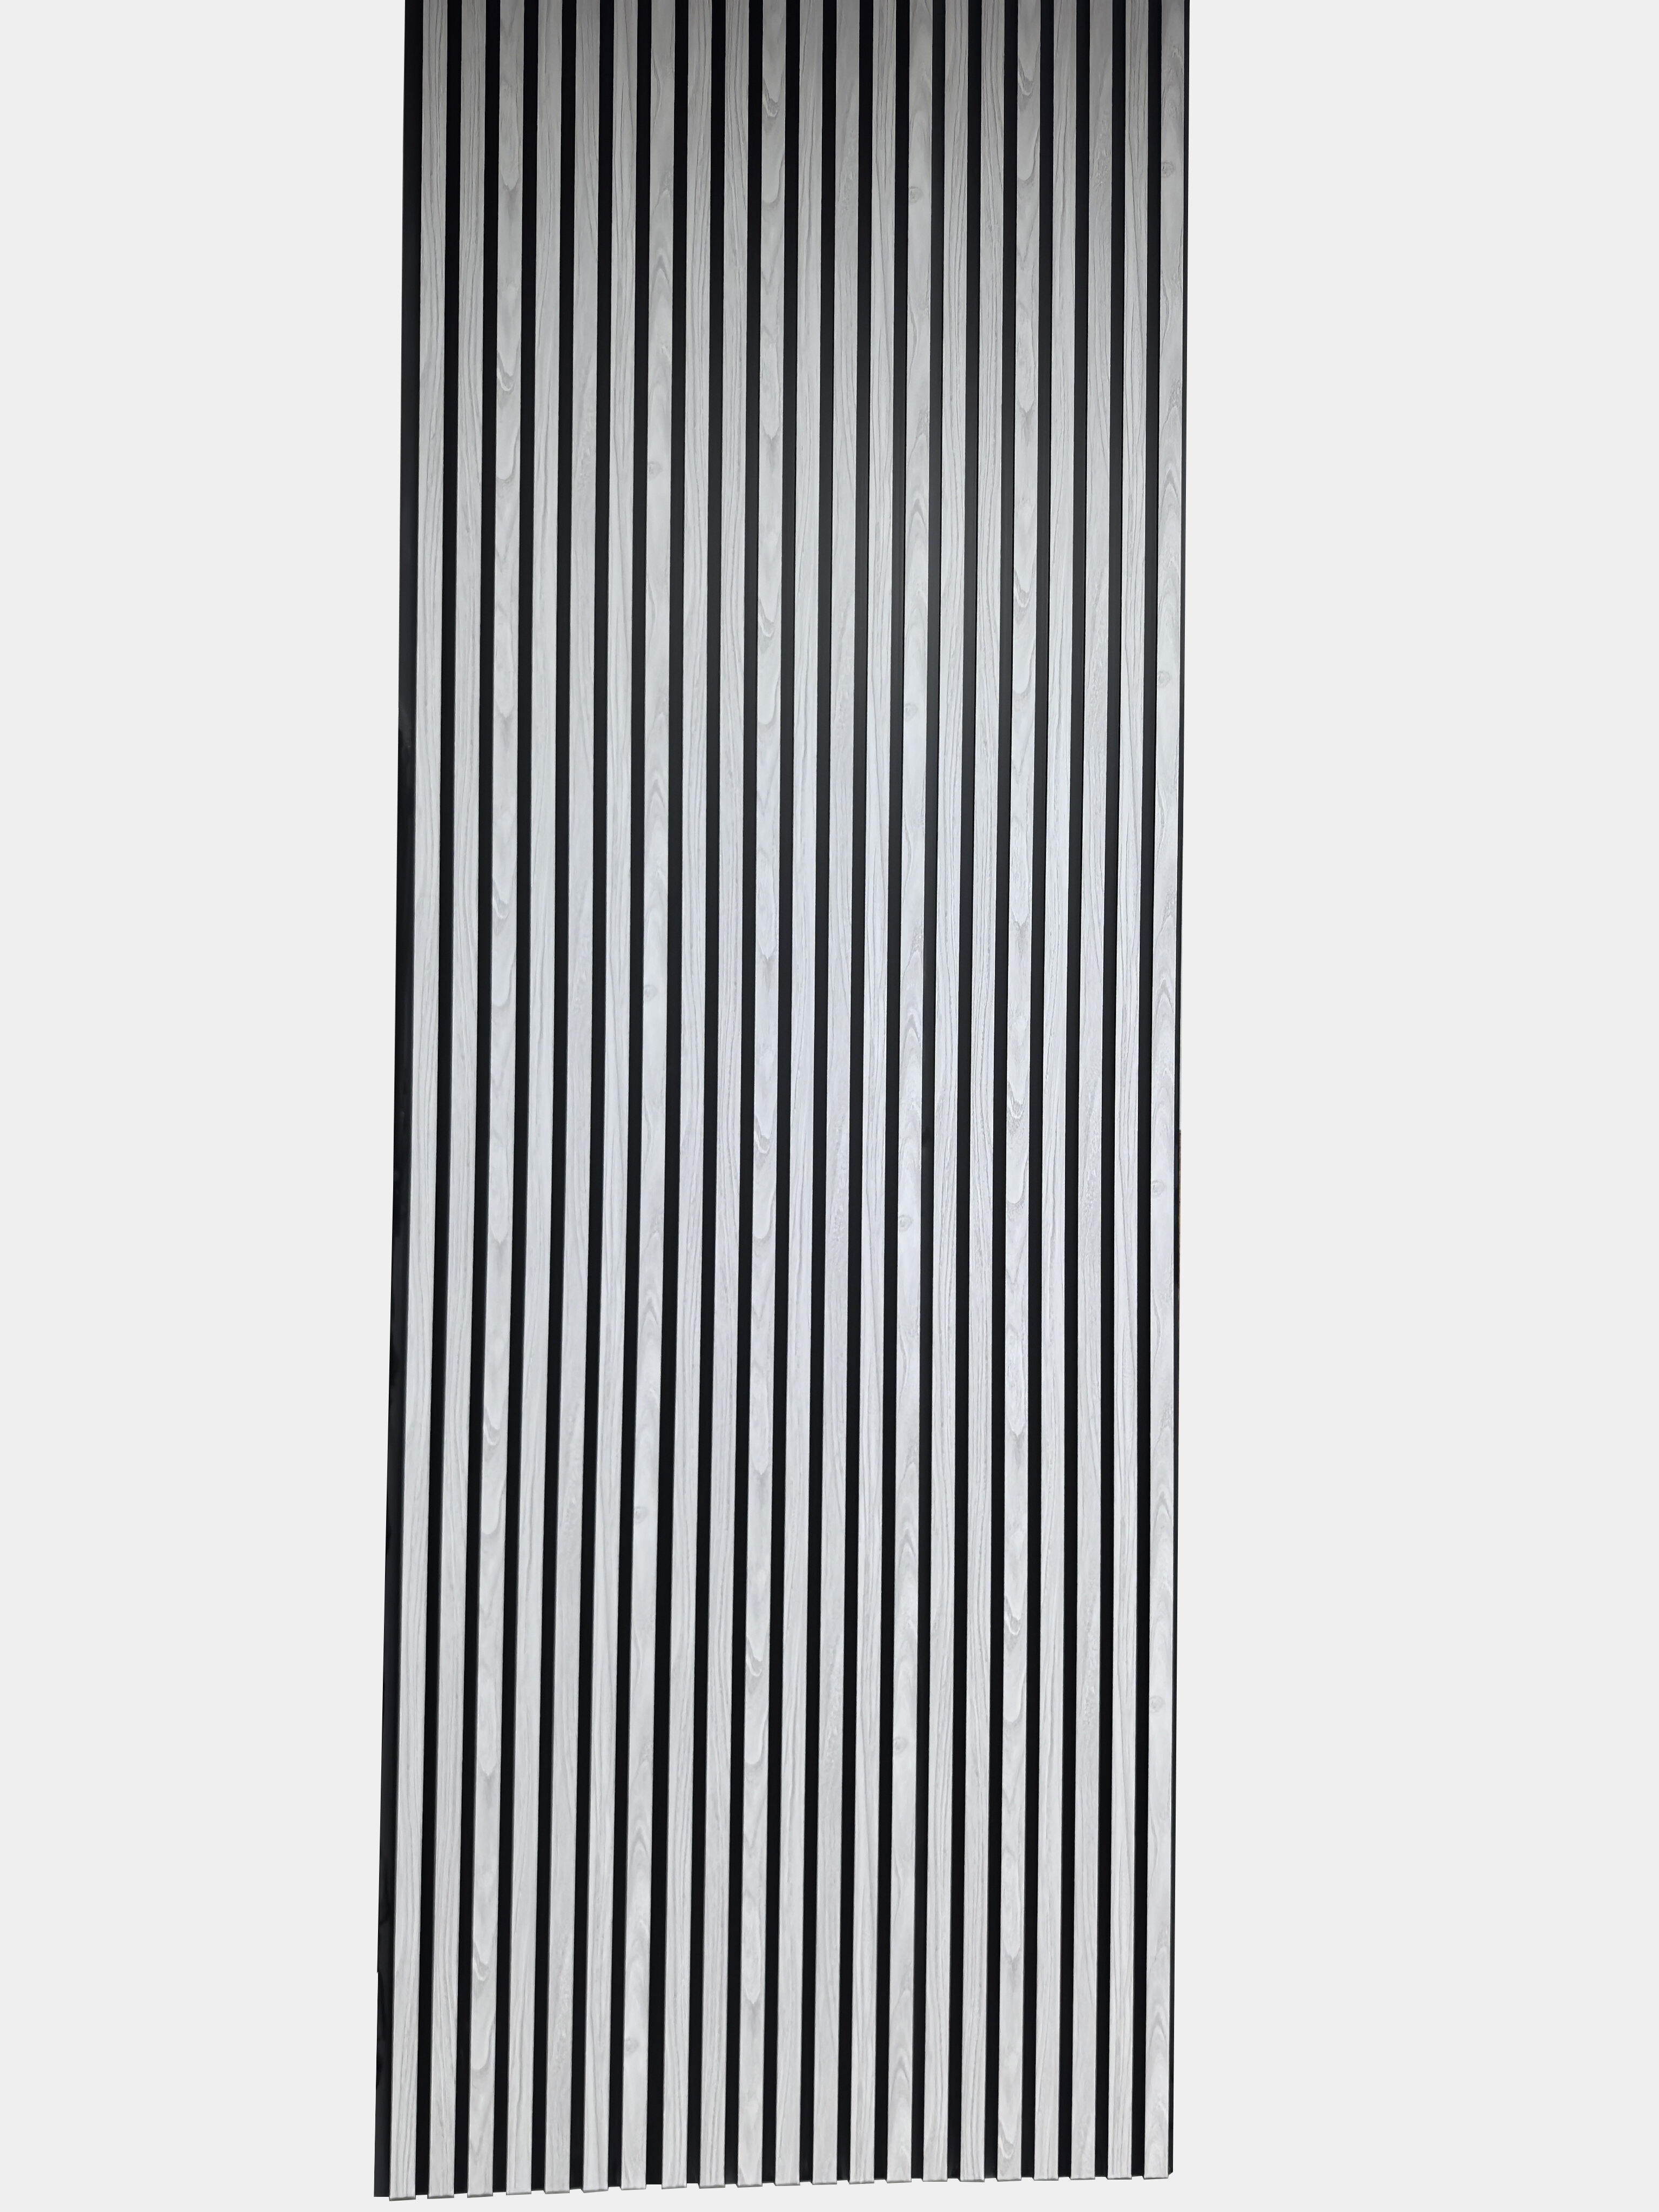
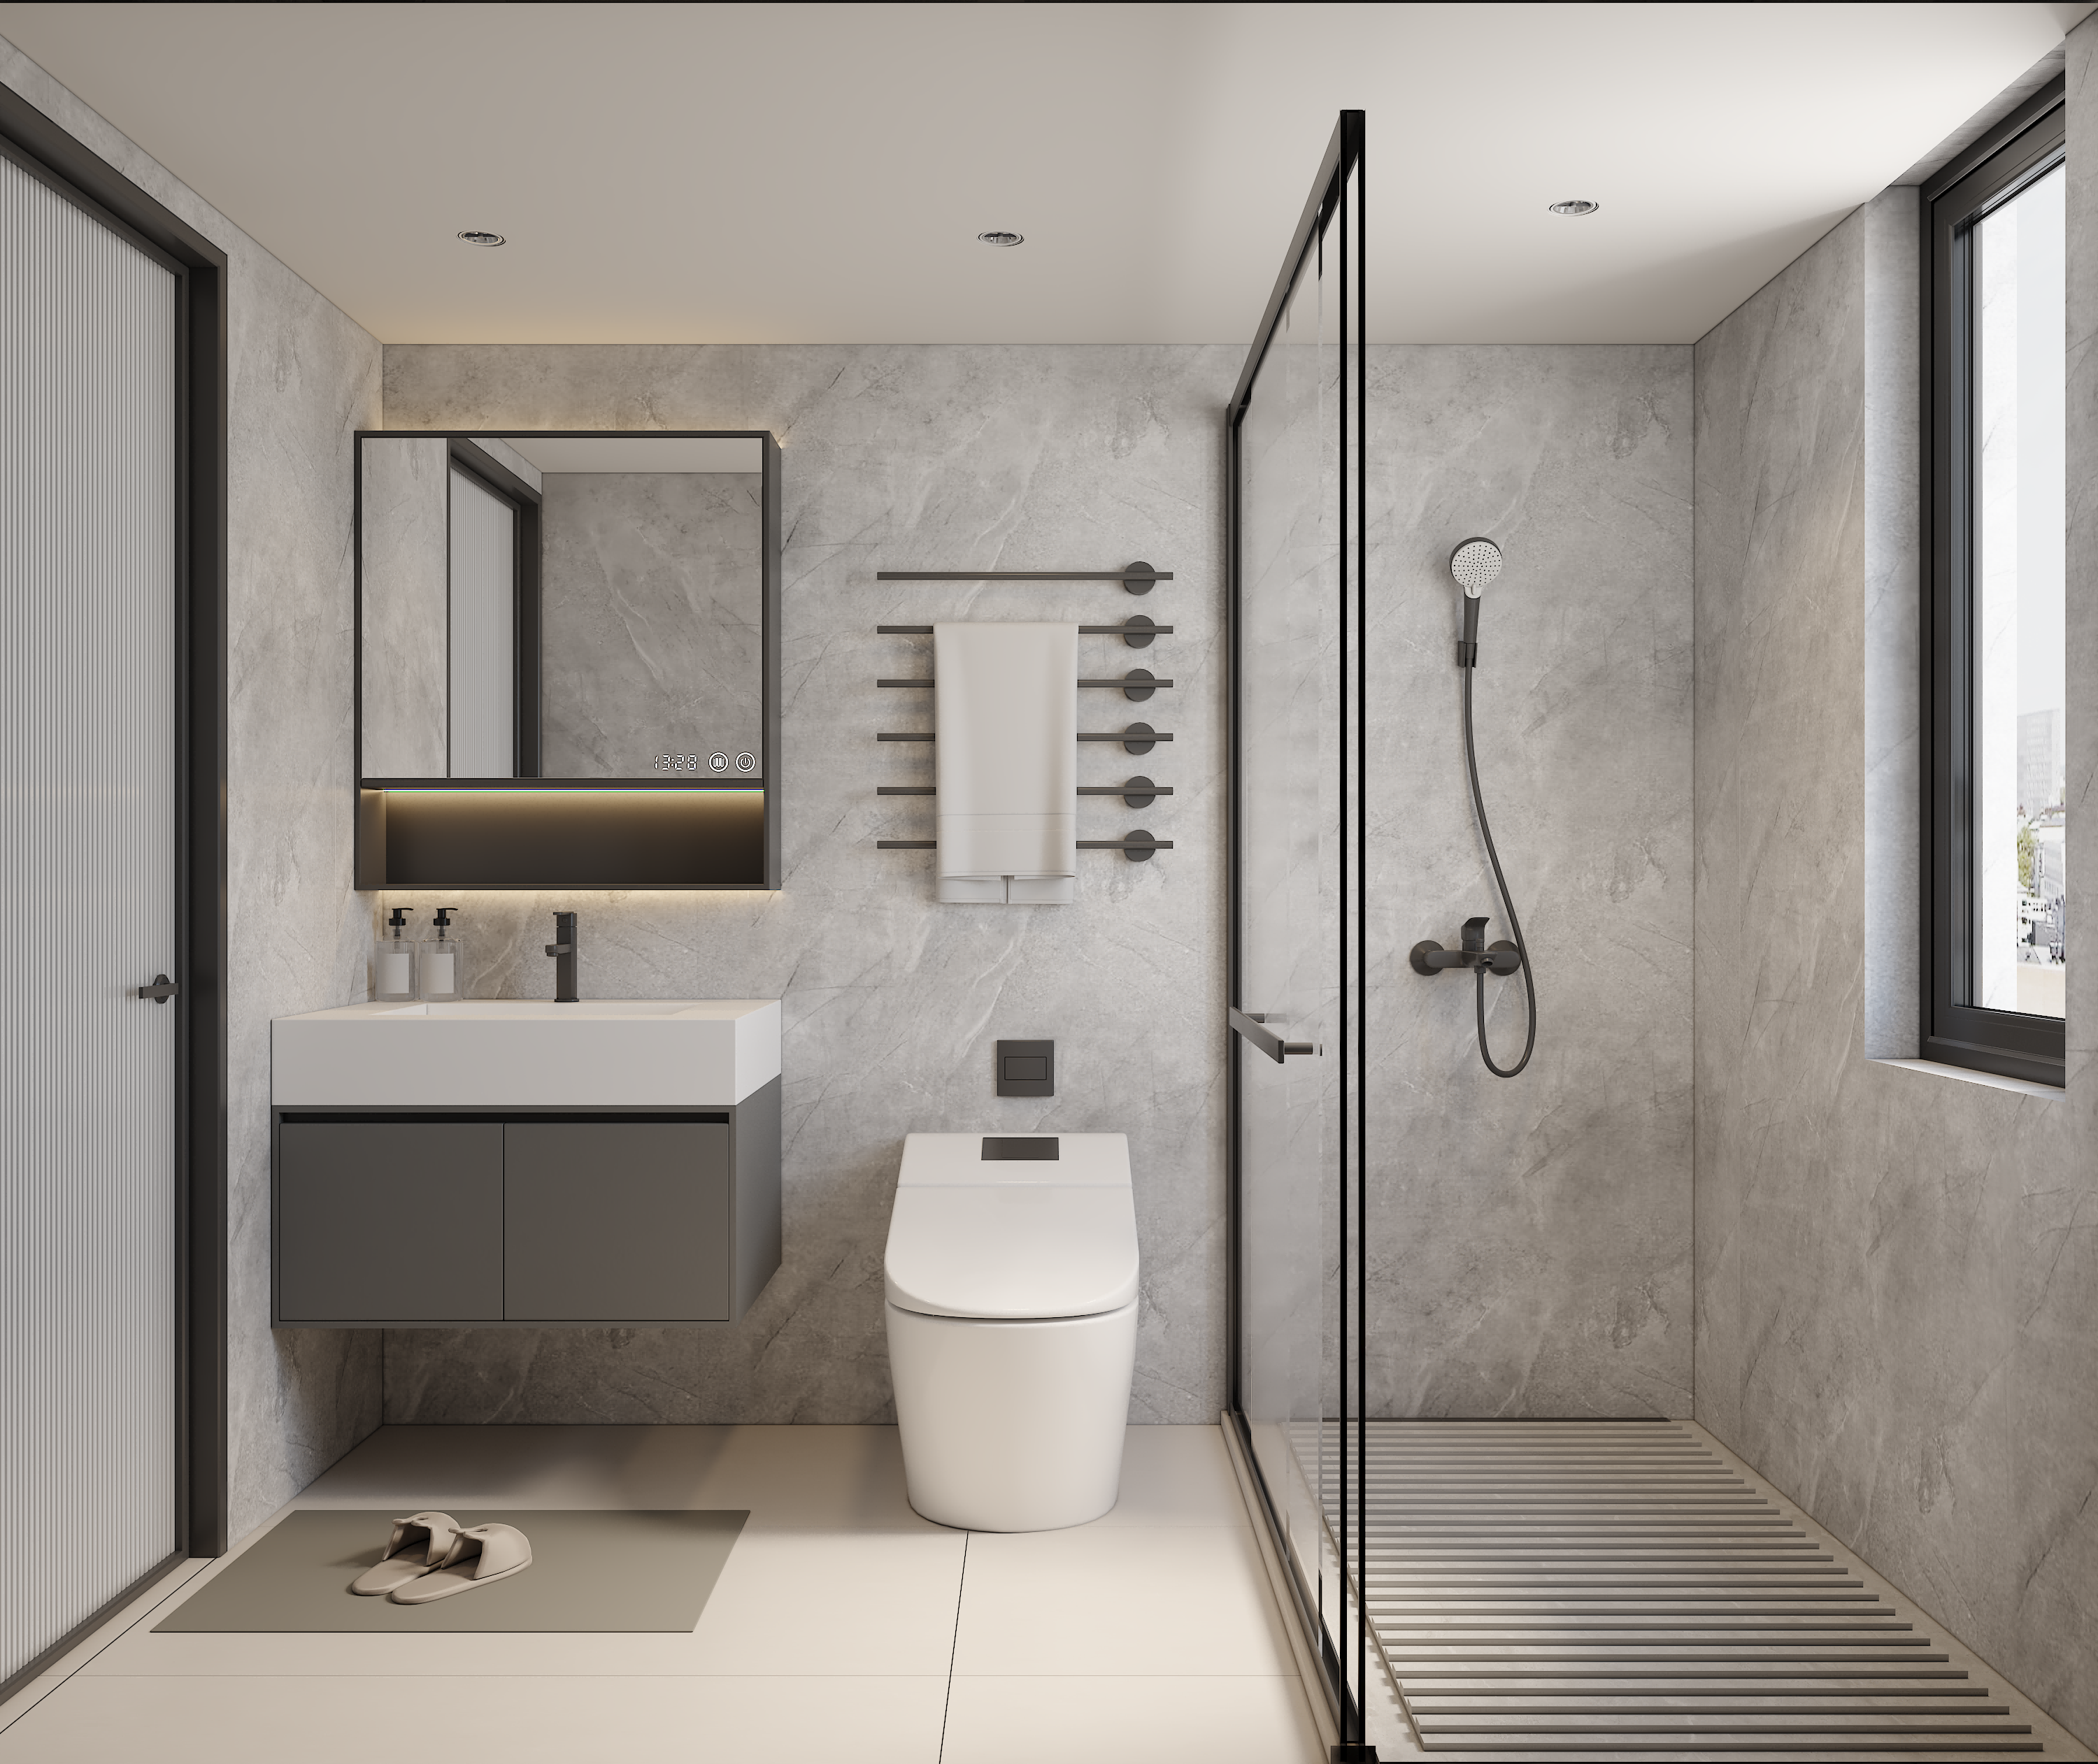
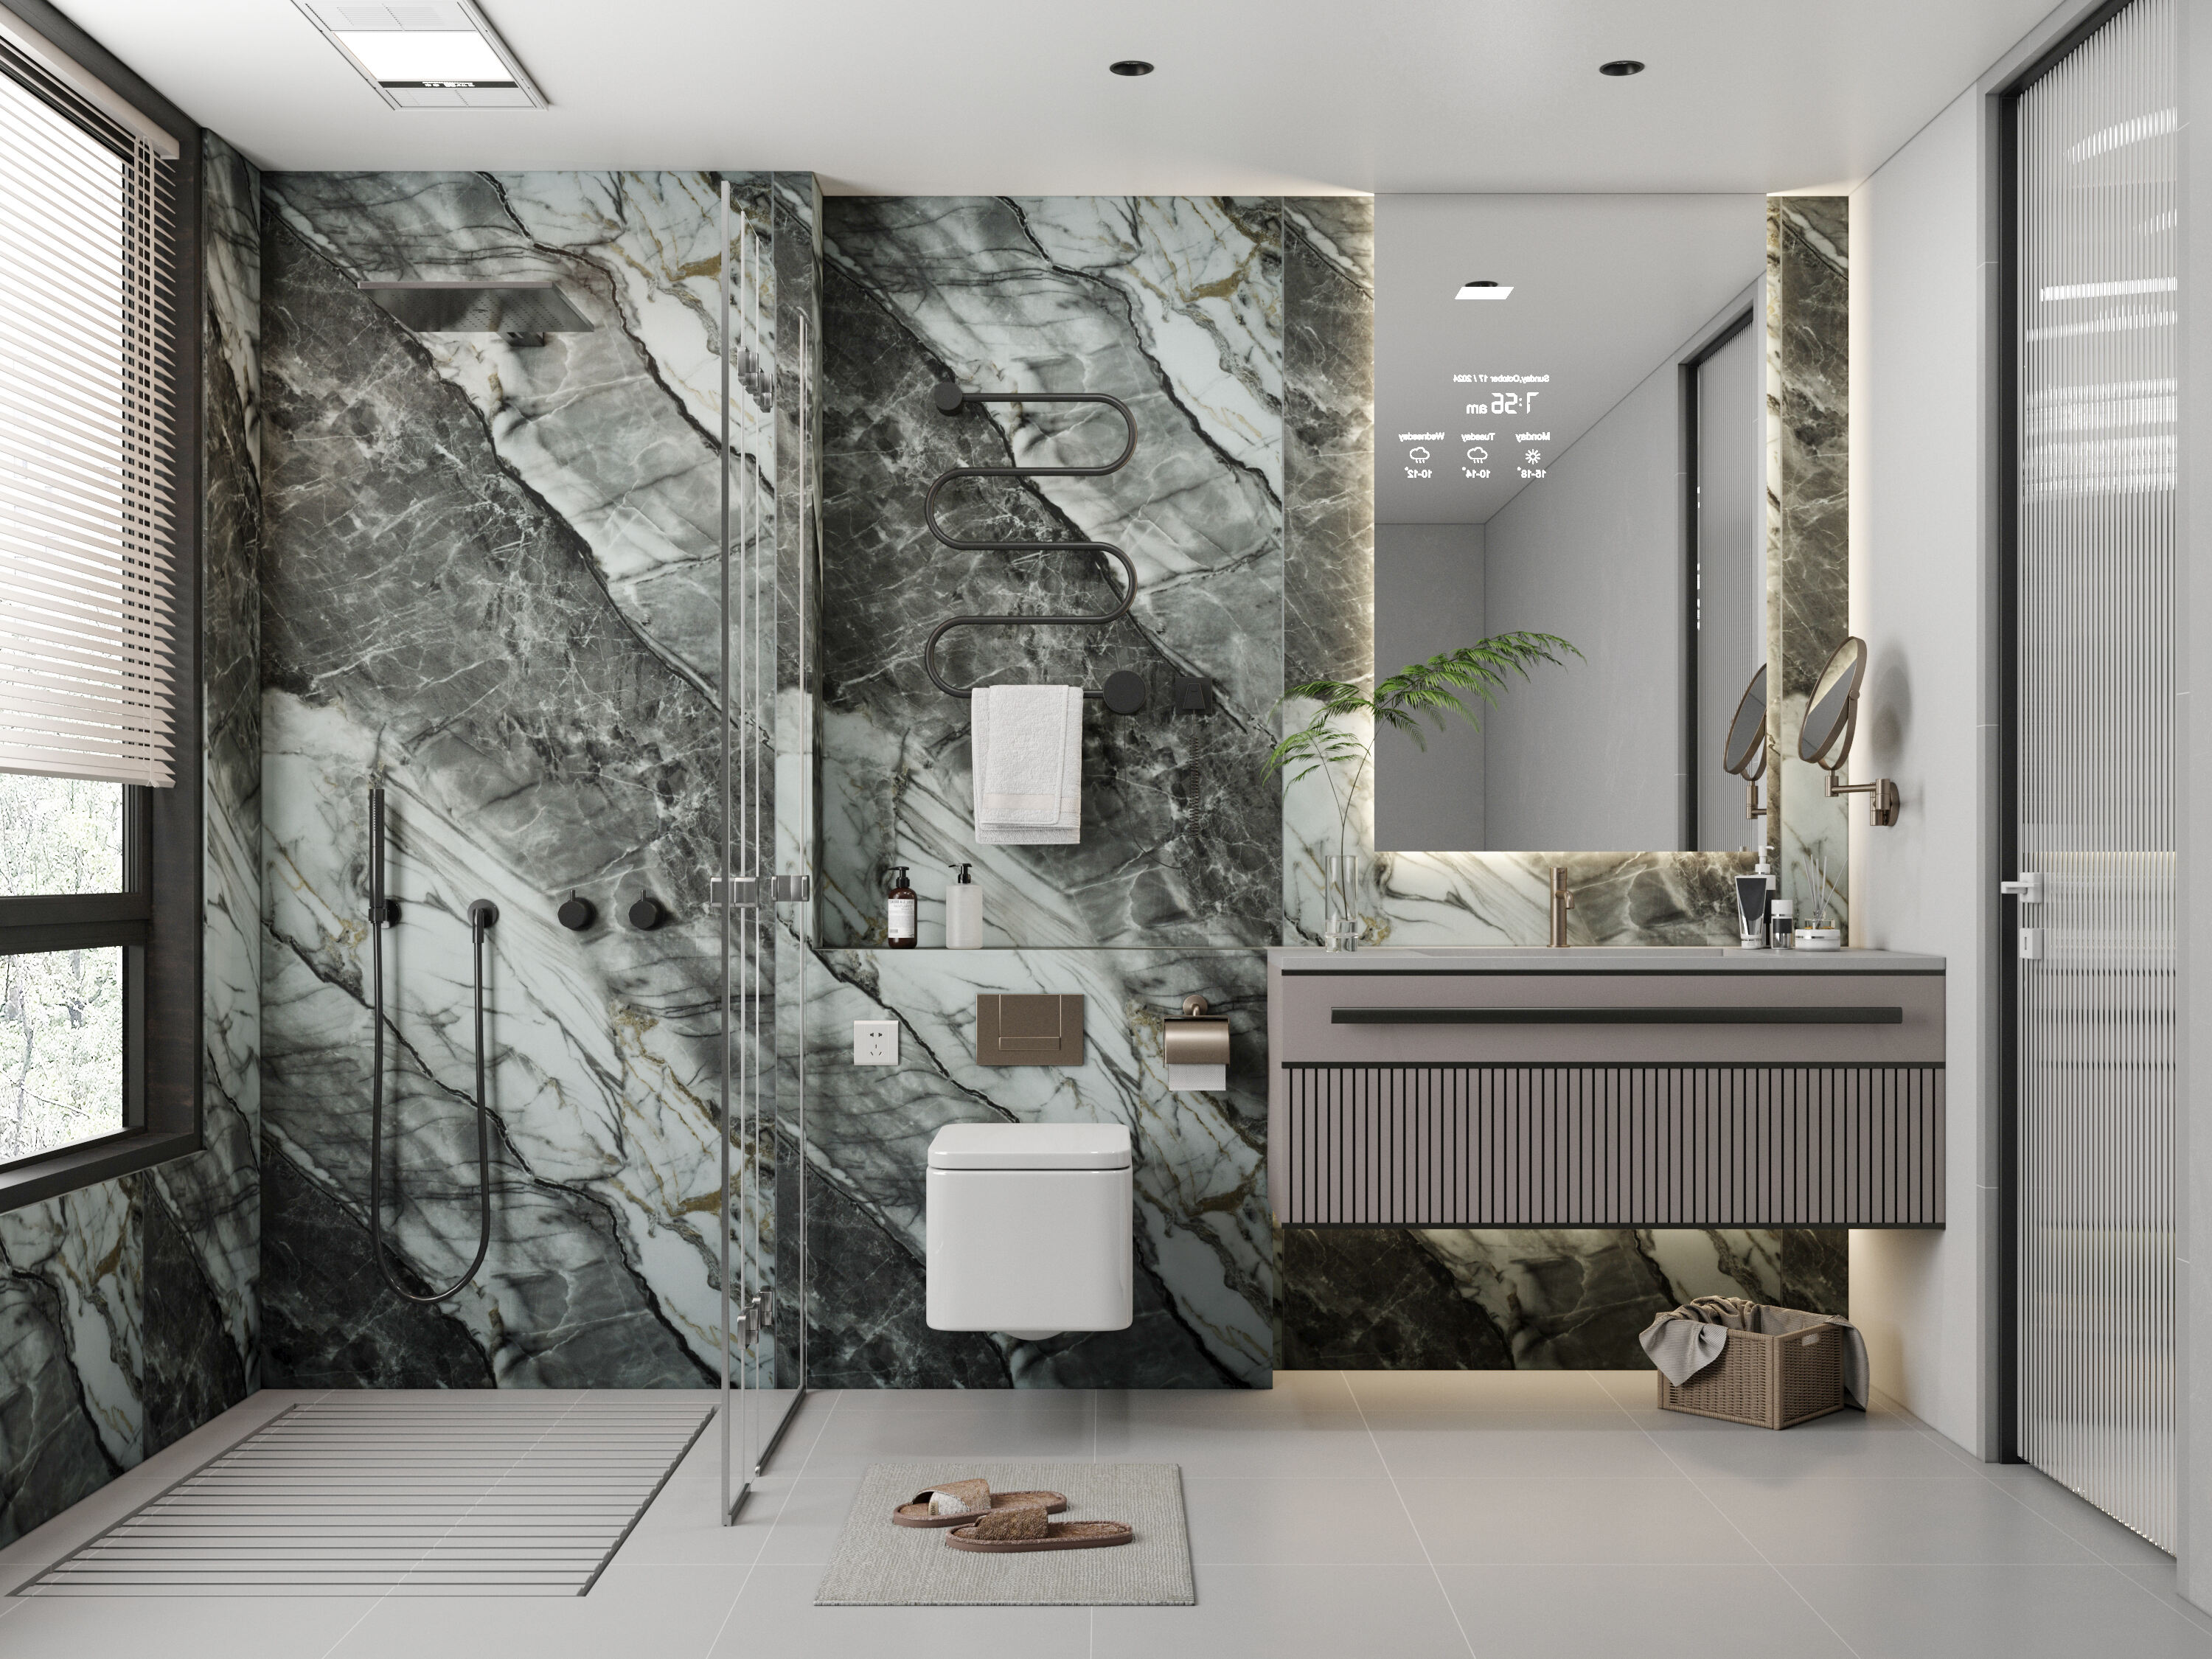
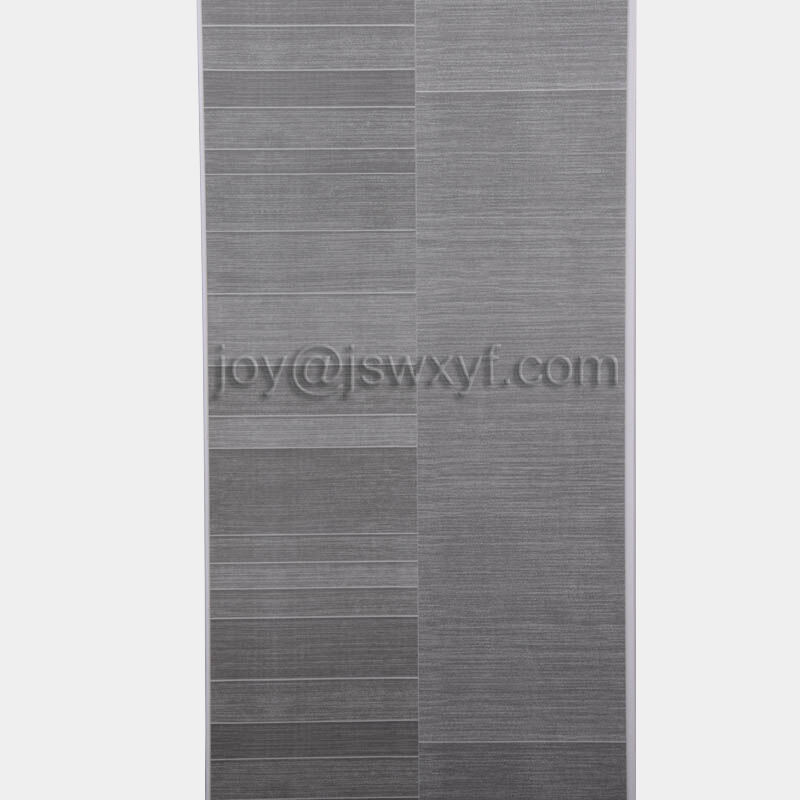
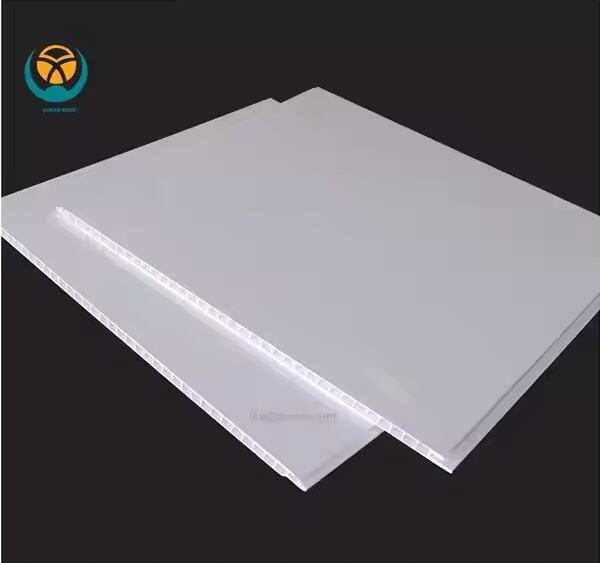
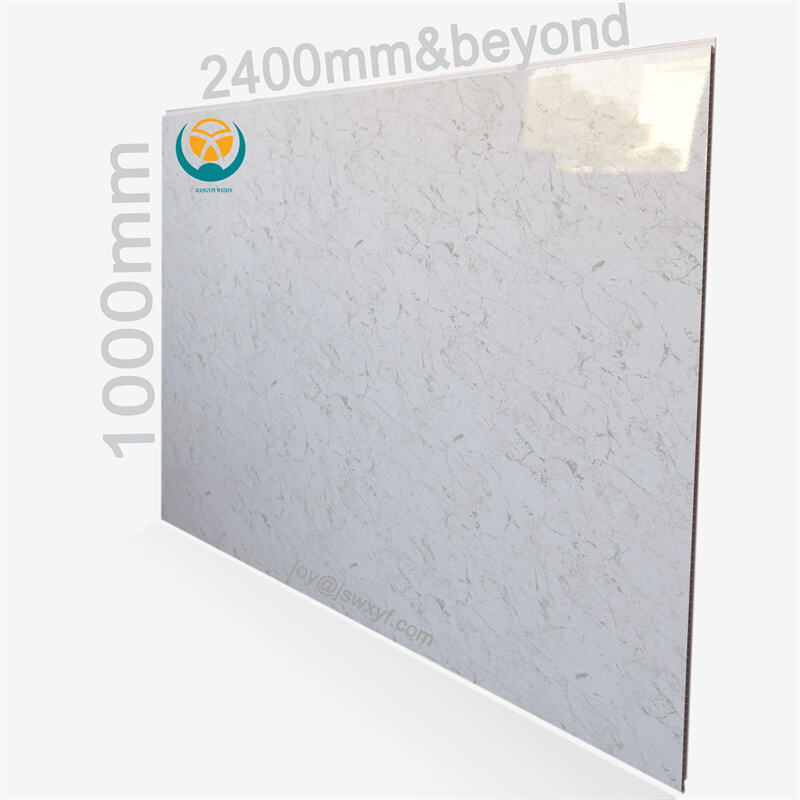
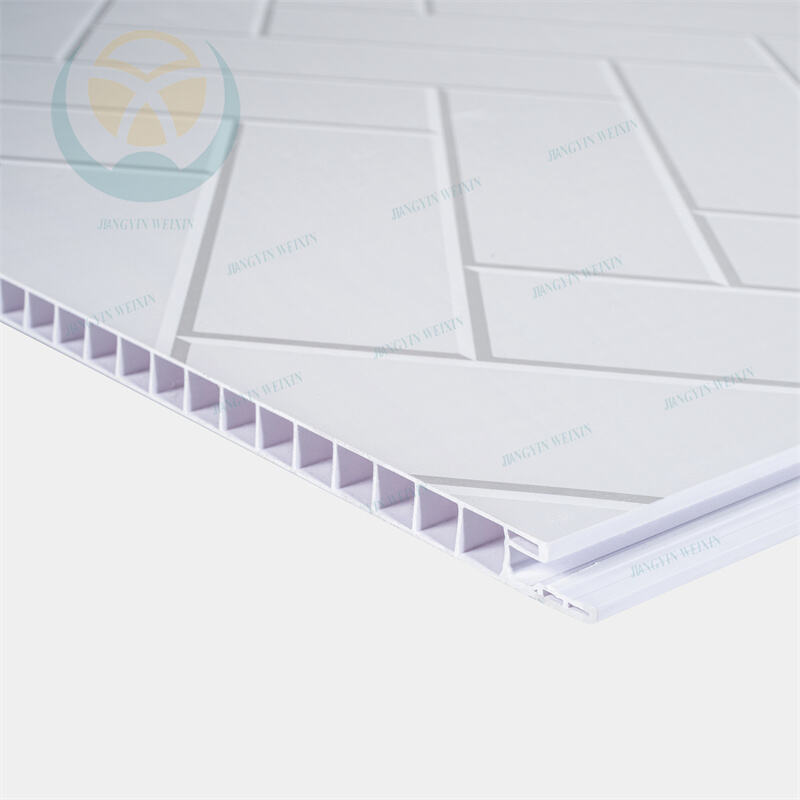
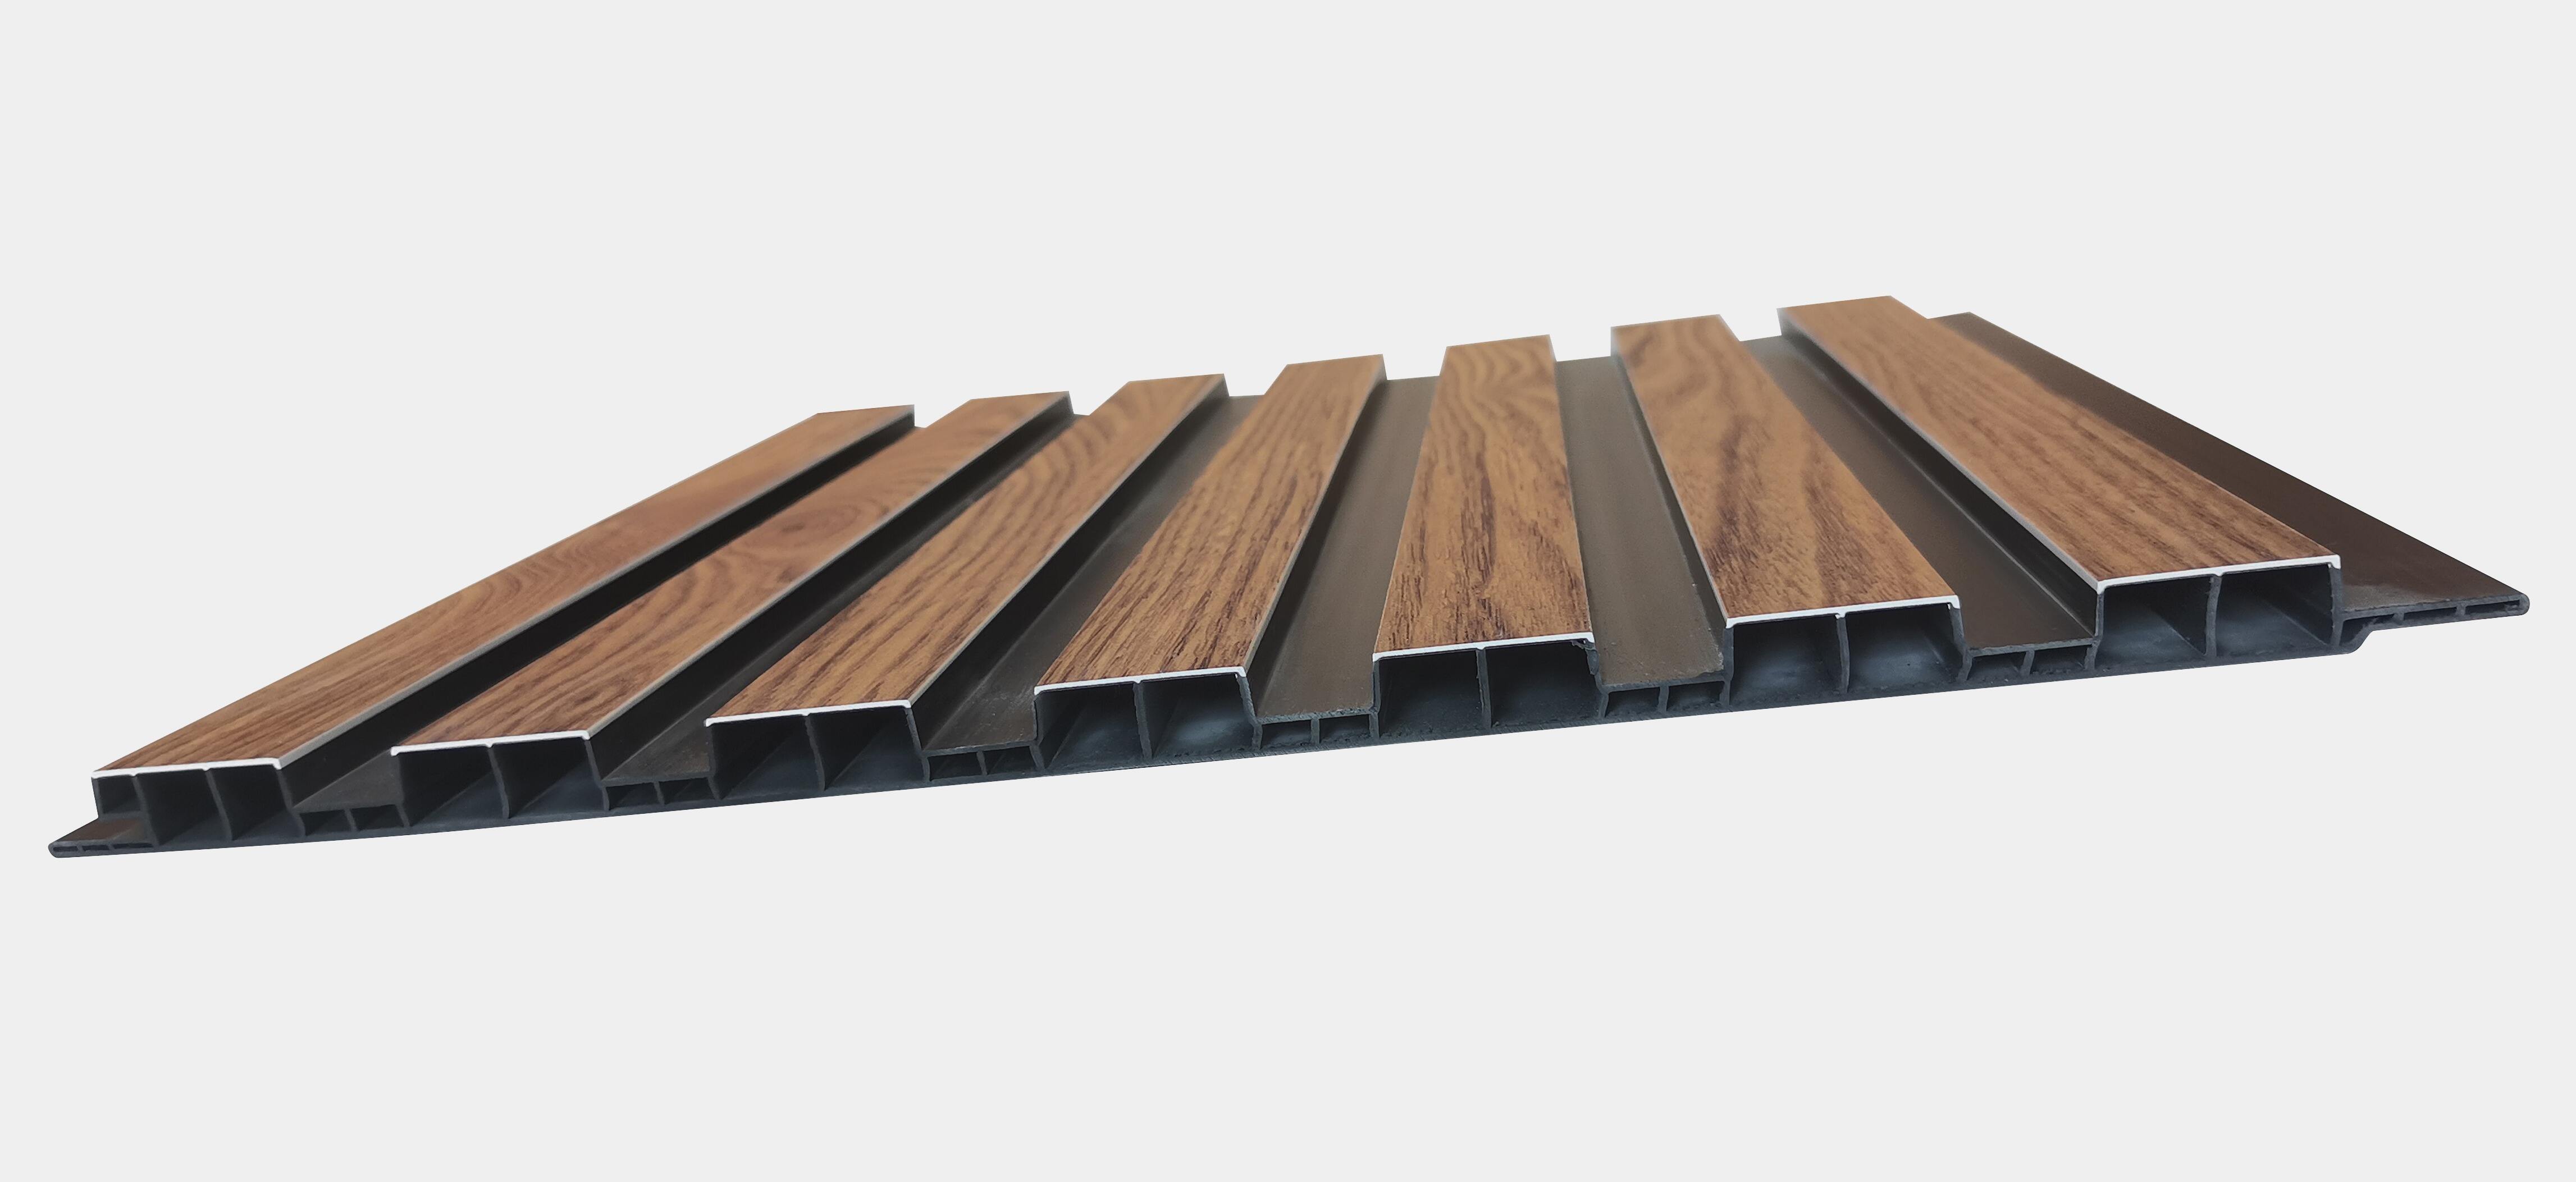
Product Description-- PVC Slat Wall Panel
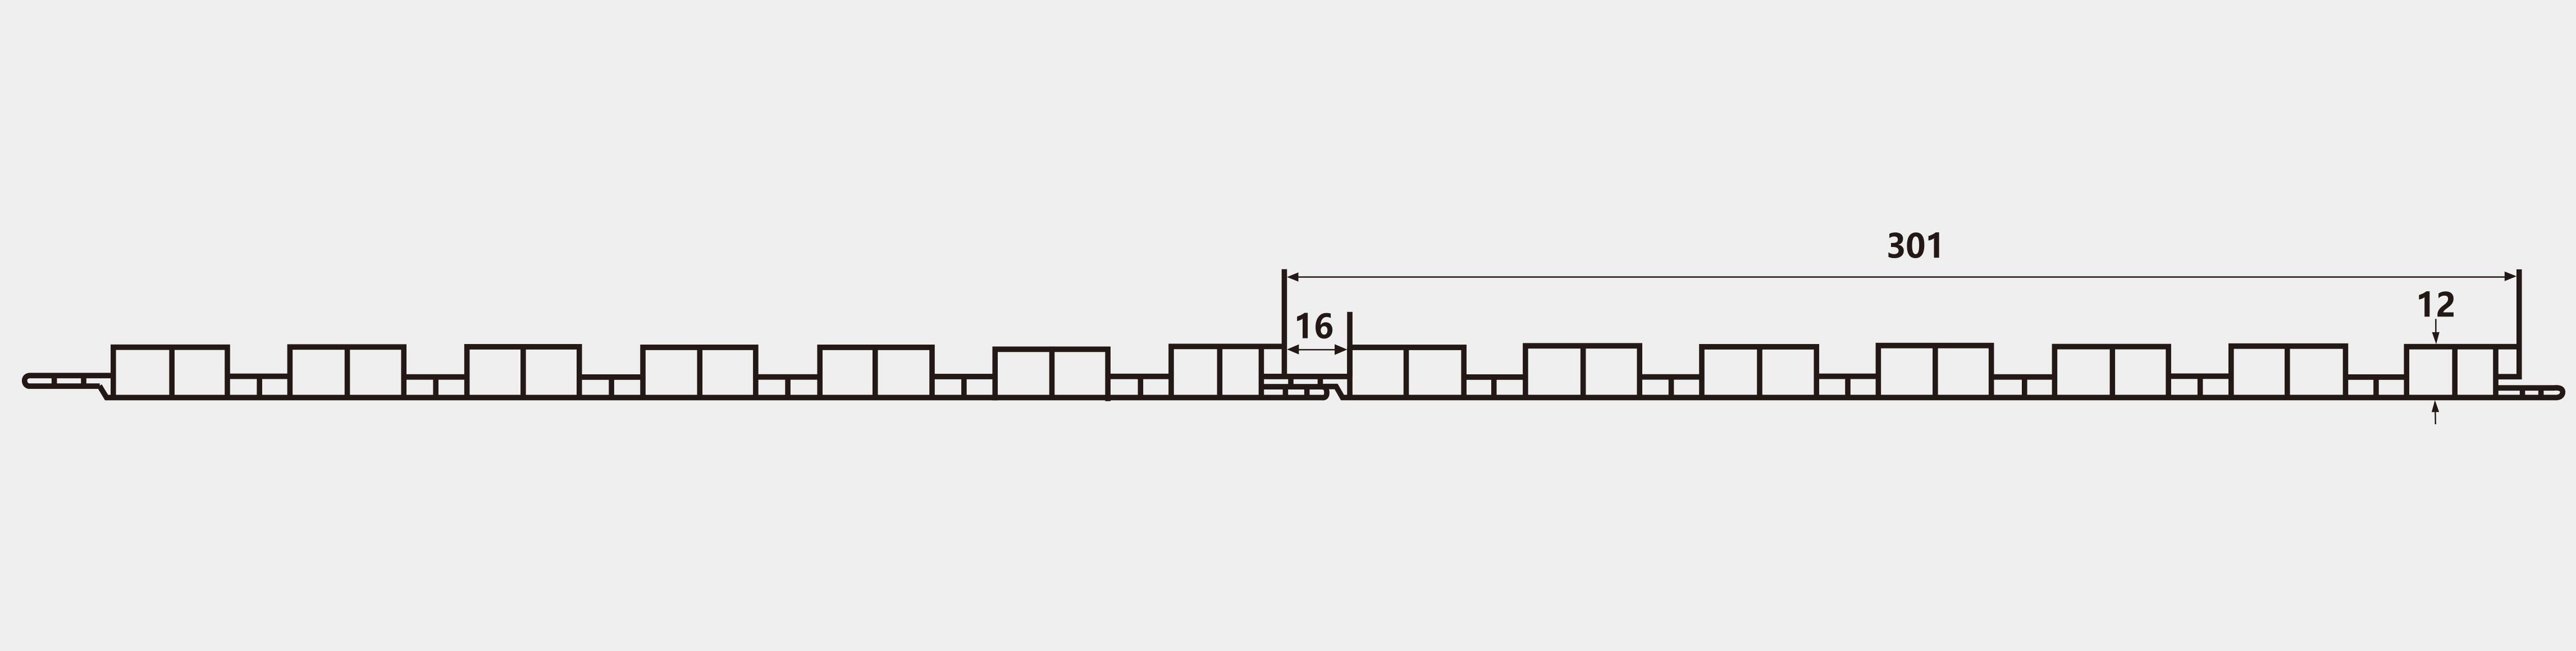
300mm X 12mm PVC slat wall panels for interior wall decoration |
Main Material |
PVC, Calcium Carbonate, etc. |
Size |
L: 2.7m or as your request |
W: 300mm |
T: 12mm |
PVC percentage |
55% |
|
|
Weight |
4.5 kg per square meter |
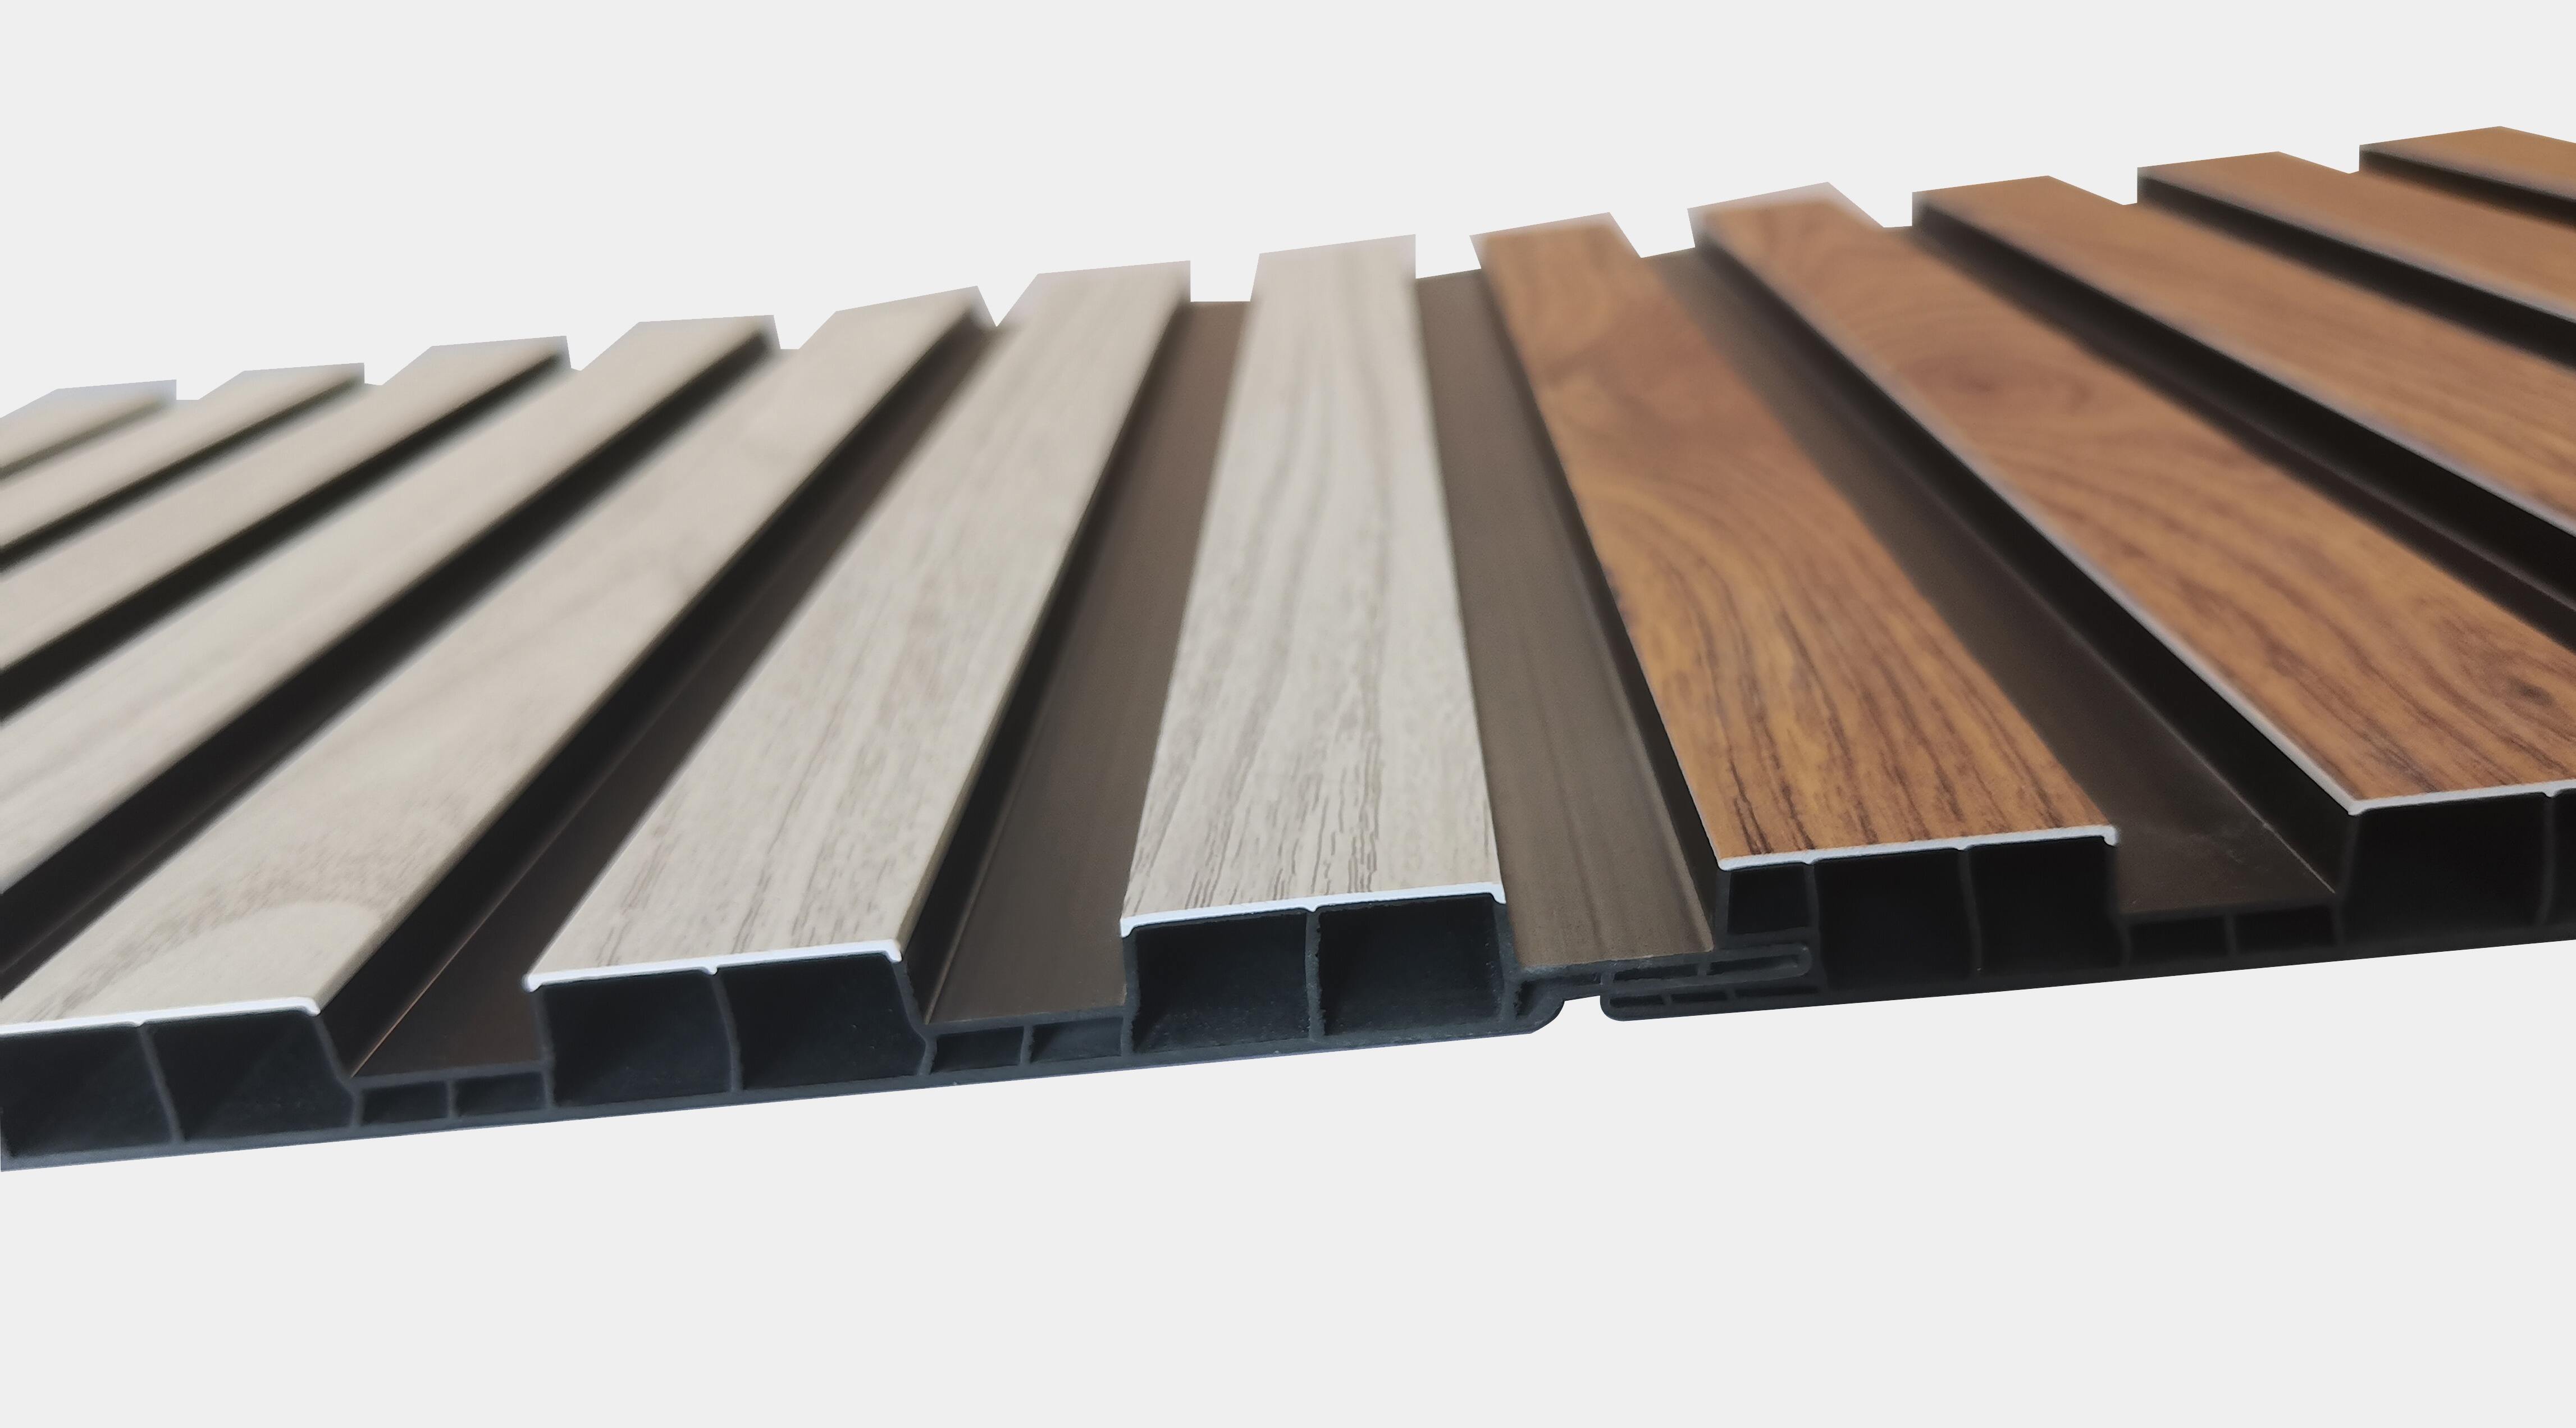
Surface treatment |
Hot transferring and super matte |
Features |
Waterproof , easy cleaning, DIY supported, UV resistant, impact resistant, detergent resistant, stable longevity, rich designs for choice, etc. |
Packing |
4 pcs per carton |
Lead time |
Within 20 days after deposit for a 40HQ |
Payment terms |
FOBShangha (30% TT as deposit, the balance against BL copy) |

Product Details: PVC Slat Wall Panel
Installation
Preparation
- Measure the area accurately to determine the number of PVC slat wall panels needed.
- Surface requirements: clean, dry, structurally sound, and free of imperfections. Suitable substrates include plasterboard, brick, or concrete block walls.
Fixing the Panels
-
Options:
- Screws: Use 8 screws in a 2x4 grid pattern across the 2600mm x 300mm panel. Choose black screws to match the PVC slat wall panel’s black backing.
- Adhesive: Apply strong construction-grade glue.
Cutting Panels (if needed)
If panels need trimming for outlets, vents, or obstacles:
- Tools: utility knife, circular saw, bandsaw, straight edge guide, measuring tape, and Brad nails/staples.
- Tips:
- Plan cuts symmetrically for aesthetic consistency.
- Use a sharp fine-tooth saw or oscillating cutting tool for precise cuts (horizontal/vertical).
Installation Methods
Choose one of three methods:
Method 1: Gluing Directly
- Tools: gloves, measuring tape, ladder/scaffolding, construction adhesive.
- Steps:
- Apply adhesive evenly to the panel or surface.
- Press the panel firmly onto the substrate.
Method 2: Screwing Directly
- Tools: drill, screws, measuring tape.
- Steps:
- Align the panel and secure it with screws in the 2x4 grid pattern.
Method 3: Furring Strips
- Tools: 2-inch-wide wooden furring strips, screws.
- Steps:
- Attach furring strips to the wall at 23.5" (600mm) intervals.
- Screw panels onto the furring strips.
Final Steps
- Ensure panels are aligned and secure.
- Hide-cut sections in less visible areas for a clean finish.
Colors for choice